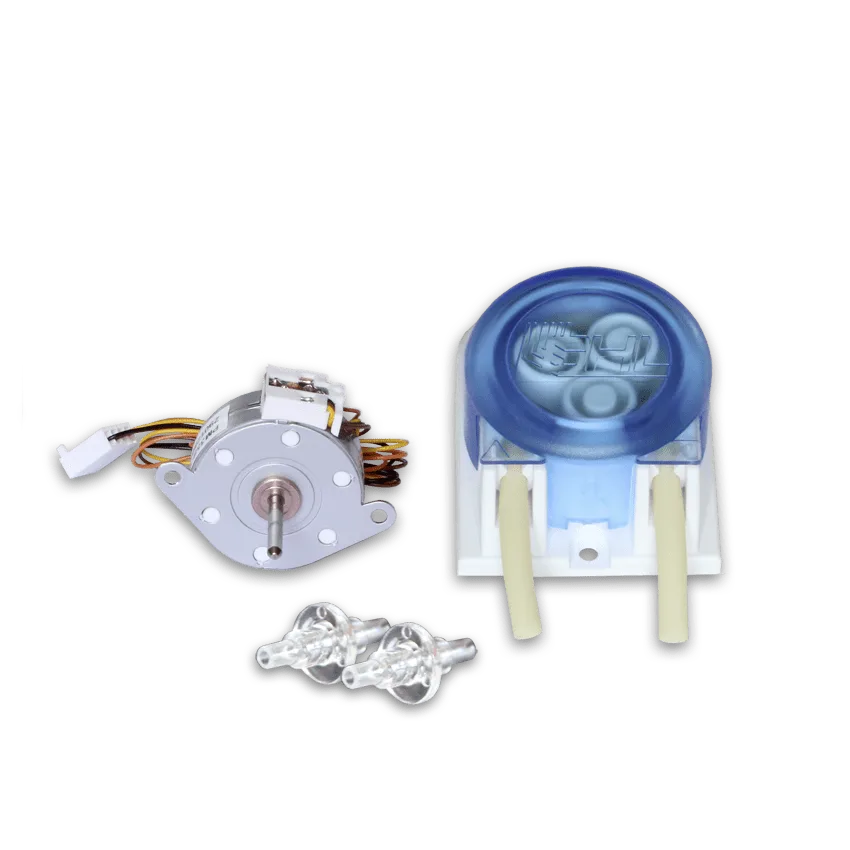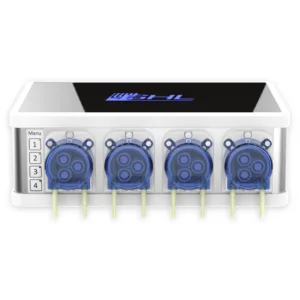
About Doser 2.1 / 2.2 maintenance and care
In order for your GHL Doser to continue running at the highest level of accuracy and silence, some general maintenance is required. This article will provide you with tips on keeping your doser running in top shape for many years to come.
Cleaning intervals: When to clean the pump head
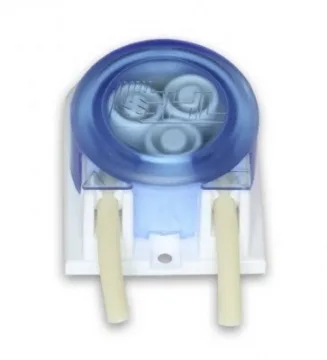
From time to time, the pump head which includes the blue cap, rollers and roller holder will need some cleaning. How often to clean these parts ultimately depend on how often each head is run. The amount of time each head is run for per cycle is also very important.
For example, a pump head that dispenses 50ml per day will need less maintenance than a pump head which dispenses 500ml per day.
As a general rule of thumb, we recommend cleaning your pump heads every 2-3 months.
If you notice your pump heads getting dirty before the 2 – 3 month mark, take them apart and clean them. Allowing more dust and dirt to accumulate will add unnecessary tension against the blue cap and rollers which may result in damaging both parts.
How to clean the pump head(s)
- Using a T8 Torx screwdriver, remove the two screws on the side of each pump head and gently pull off the blue cap
NOTE: Older Doser 2.1 models use T6 screws.
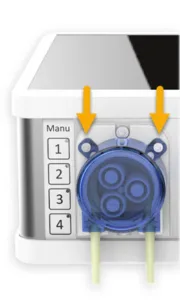
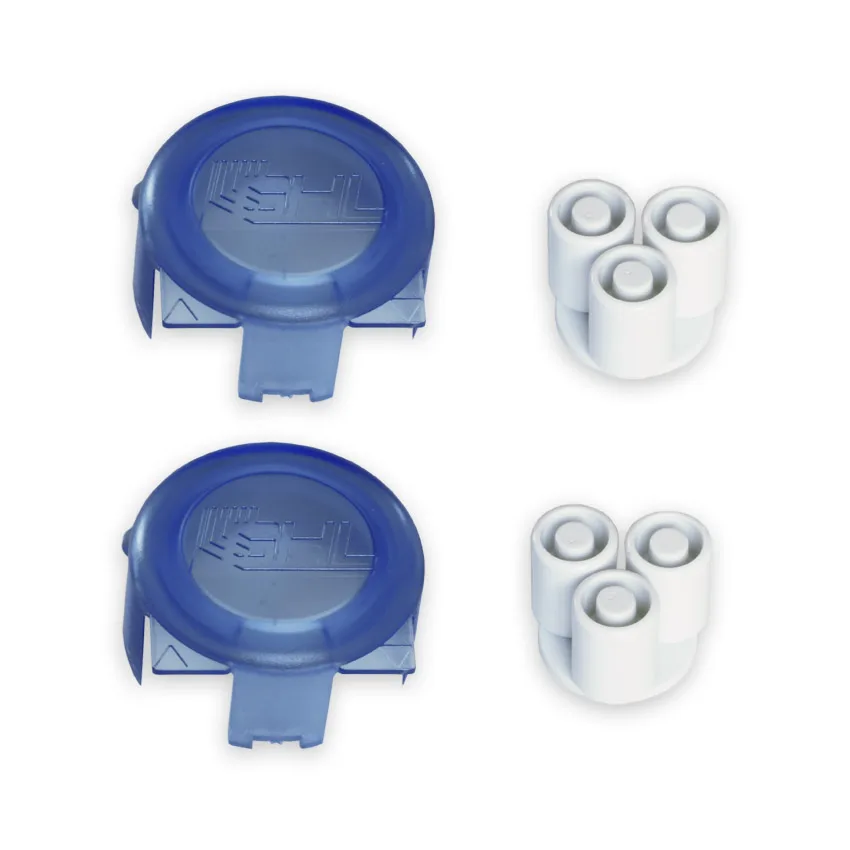
2. Remove the 3 white rollers and 3-pronged piece which holds the rollers in-place
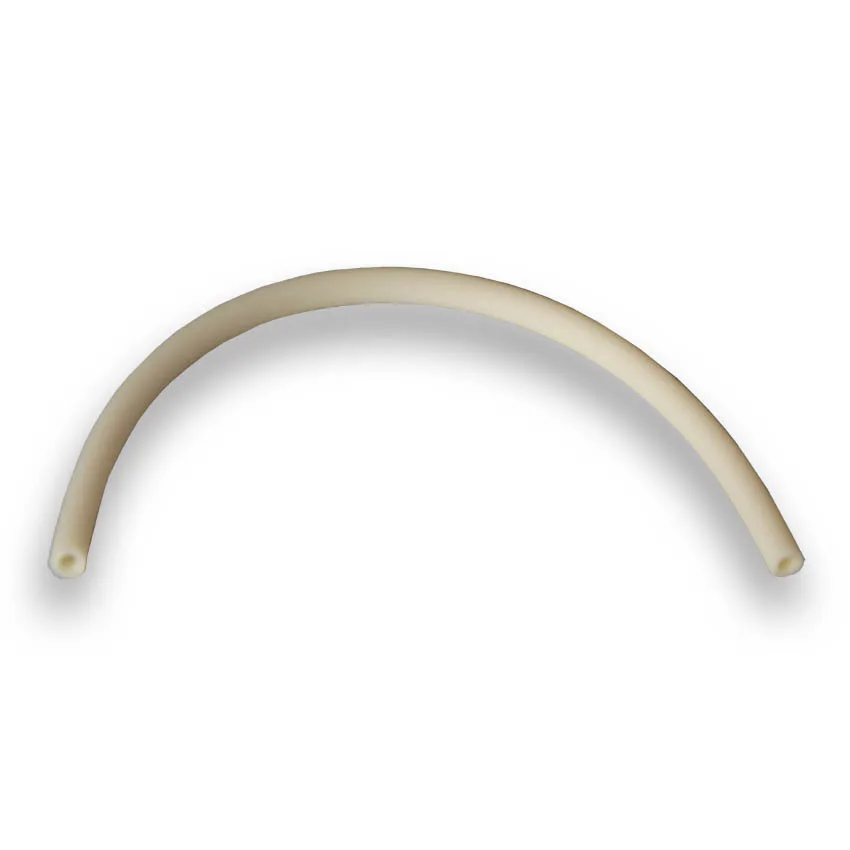
3. Remove the tube from the head
4. Soak all parts (cap, rollers, roller holder and tube) in a bowl of lukewarm water for 10 – 15 minutes
Replacement intervals: When to replace parts
Parts such as the pump motor, head, tube, rollers and cap are all parts subject to wear and tear. The amount of time that you can go in-between replacements ultimately depend on dosage amounts, frequency and aging. Since these variables will be different for each user, we cannot give any specific time frames. We can however provide you with general indicators for when these parts may need replacing.
In order to ensure the longevity of your Doser, GHL offers a complete assortment of complete pumps and spare parts such as motors, heads and maintenance sets. These parts can be purchased at any Authorized GHL Dealer or at the GHL shop.
General indicators for replacement:
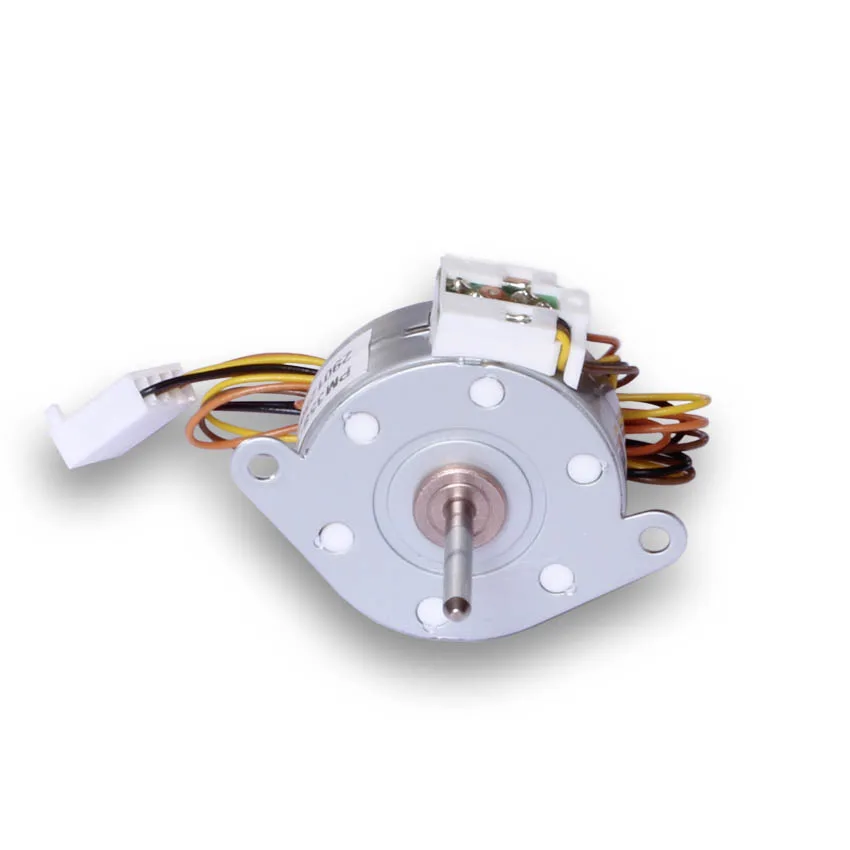
- Stepper pump motor: Replace when original stops working
- Entire pump head: Replace if head becomes damaged
- Tube: Replace when tube becomes yellowed, very stiff or begins to leak
- Blue cap and rollers: Replace when there is increased noise from caps and rollers
NOTE: Replacement frequency is heavily dependent on how often these parts are used. For example, a pump head that dispenses 50ml per day will need less maintenance than a pump head which dispenses 500ml per day.
How to replace pump motor
When it comes time to replace your pump motor, carefully follow these steps.
- Power OFF the Doser 2.1 and turn the device upside down
- Using a T10 Torx screw driver, remove the four screws and place them on the side
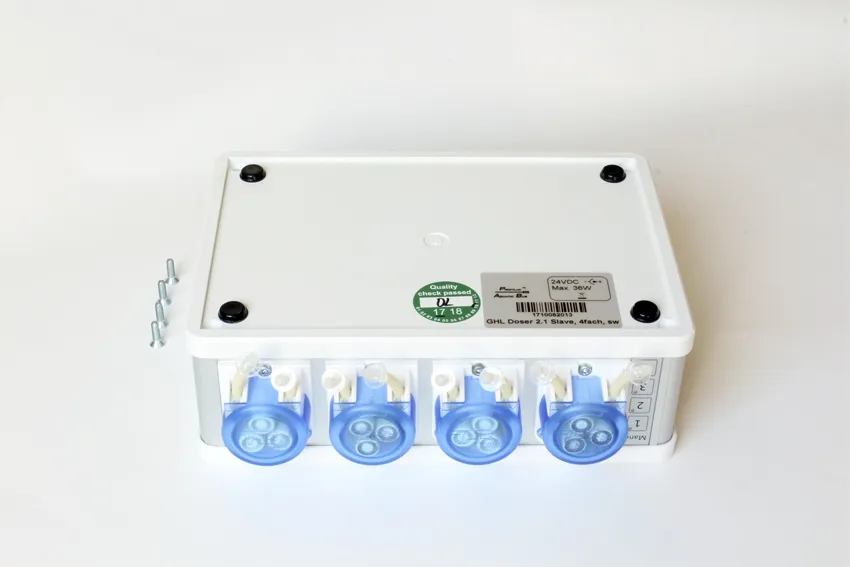
3. Place the device right-side up and carefully lift up the top cover
Inside the device there are thin cables which power the top cover’s GHL logo light. As you lift up this top cover, make sure you do so SLOWLY so you do not damage the cables. There is no need to disconnect this cable as long as you position it as shown in the illustration.
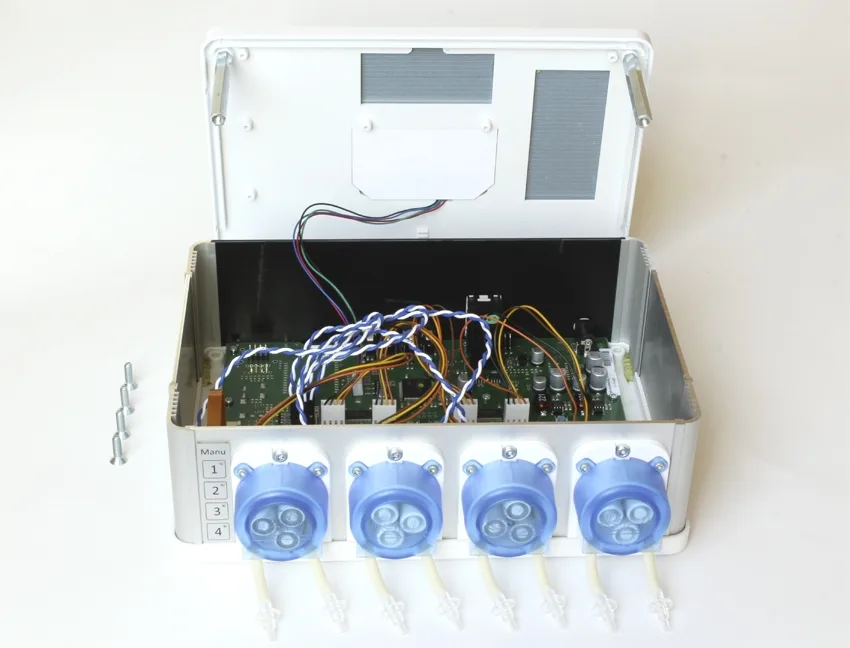
4. Carefully lift the entire front plate and remove the upper and lower screws on the front of the dosing pump head
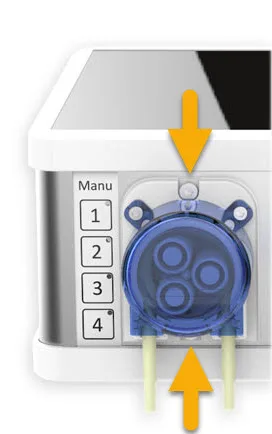
As you loosen the two front screws, make sure you do not lose the locking nuts which hold the motor in-place as they are what hold the pump head to the body.
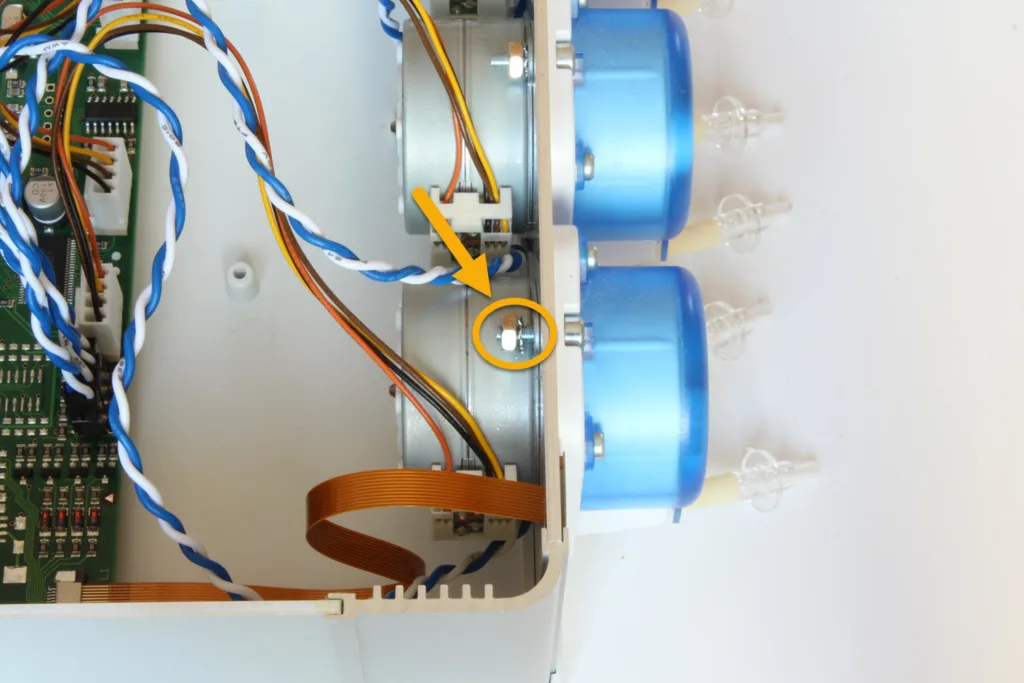
5. Pull the motor away from the plate and disconnect the cable leading into the mainboard
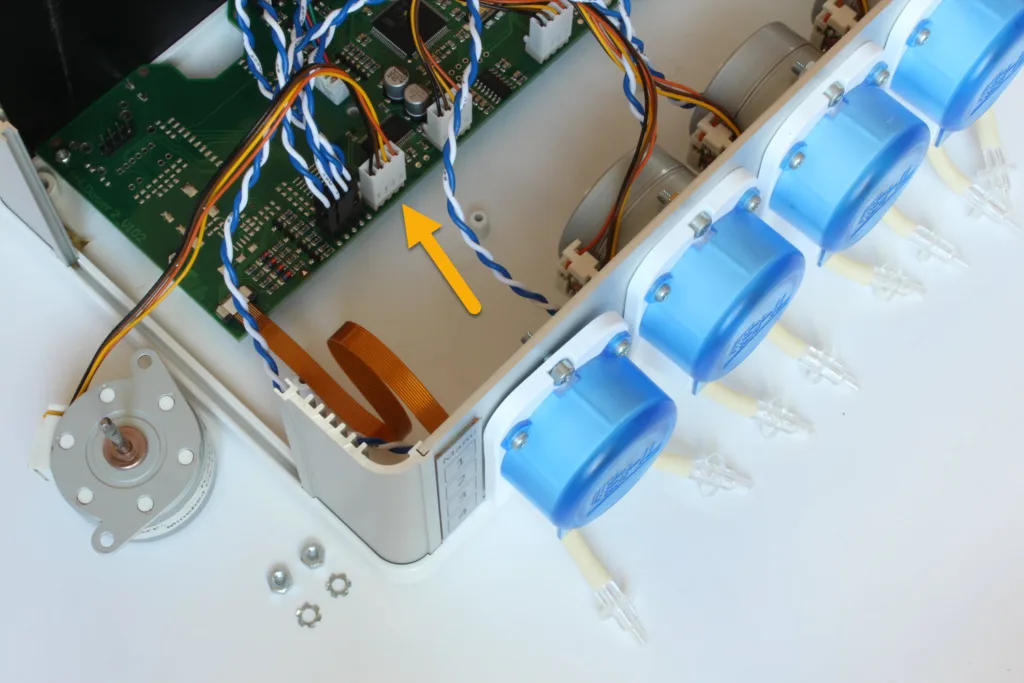
To disconnect the motor cable from the mainboard push the clip on the plug sideways.
Never pull from the wires themselves!
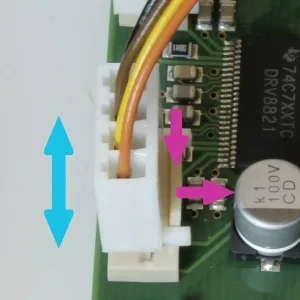
6. Connect new motor cable to mainboard and re-attach motor to plate
If you wish to use the included LED backlight, you may install this by tracing back the cables where it is currently connected to and connecting the new LED to the same connector pins.
7. Re-seat entire front plate onto doser housing, put the top cover back on the doser and re-insert the screws to close the hosing.
