About Mitras LX control via ProfiLux
The Mitras LX 6 and LX7 LED luminaire can be used in a variety of ways. Aside from it being a standalone product, GHL ProfiLux (3 and newer) owners have the option to wirelessly control these lights through the ProfiLux itself.
When you install the PLM-PWC expansion card onto your ProfiLux, you allow the controller to wirelessly control one or more LXs in a single group. Anytime you want to create or modify a light schedule, you would connect to the controller itself and make the adjustments there. With this setup, all LXs are slaves and the ProfiLux is the master device.
By having the ProfiLux control the Mitras LX, you can achieve a more seamless, integrated level of accessibility and control.
Before you begin
- If you are not familiar yet with the operating concept of the ProfiLux Controller, we highly recommend to first read the Knowledgebase Article “How the ProfiLux Controller works“. It gives you an understanding of the basics and the operational concept of the controller
- Make sure you have all the correct parts on-hand (See also list below)
What you’ll need…
In order for the ProfiLux to control the Mitras LX, you will need the following:
| (Item) |
| "Internal" expansion card slot on P4 |
| PLM-PWC expansion card (PL-1011) |
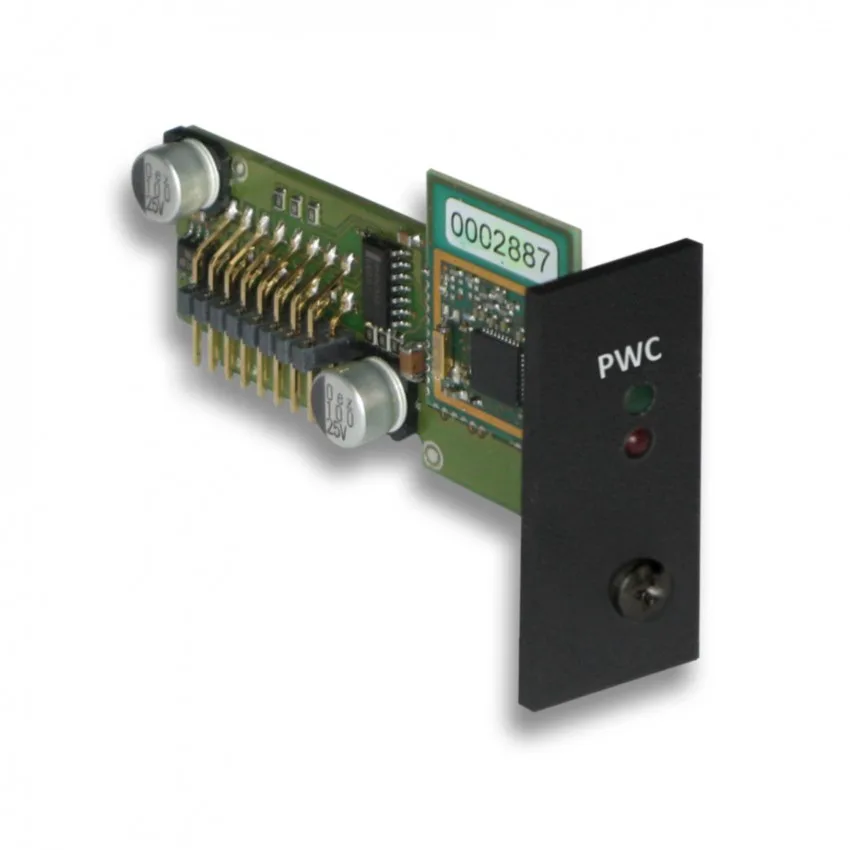
PLM-PWC expansion card
Install expansion card
- Install the PLM-PWC Expansion Card by following the steps shown here.
Set Mitras LX to Slave mode (via display)
Repeat these steps for ALL Mitras LX you want controlled by the ProfiLux.
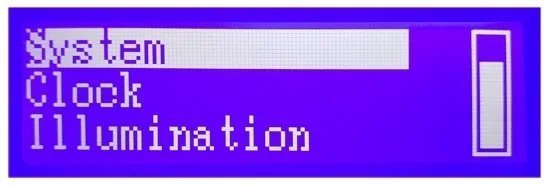
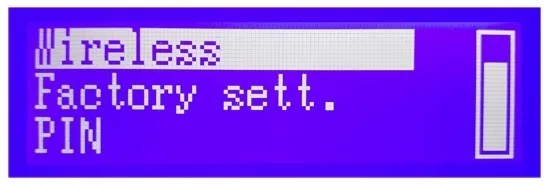
- Using the LX6/7 touch keys, press the up or down arrow keys and select System
- Select Wireless
- Select Slave

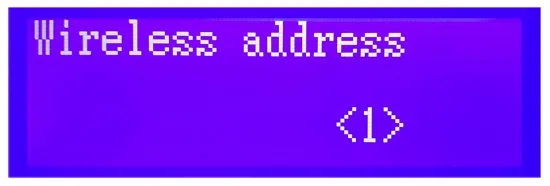
4. Set the Wireless address
If this is Mitras #1, set address to < 2 >
If Mitras #2, set address to < 3 >
If Mitras #3, set address to < 4 >
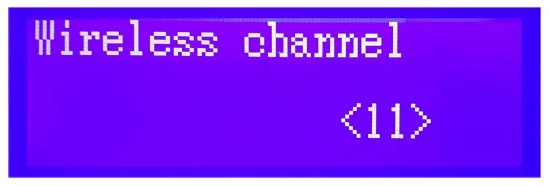
5. Set the Wireless channel to 11
6. Select YES to save settings
Create your light schedule in the ProfiLux
Now that your Mitras LXs are set to listen to the commands from the ProfiLux, it’s time to create your light schedule so the controller can send the schedule to your lights.
When it comes to creating a light schedule for your Mitras LEDs, you have two options. You can either use Light Composer or Multi-Channel Setup.
Light Composer: This option provides you with the most tools which help you in creating and fine-tuning your light schedule. Here you will find an automatically generated spectral graph which aids in producing the most natural and beneficial spectrum for your plants and/or coral. This tool can be found in GHL Control Center.
Multi-Channel Setup: This option offers the core functionality of Light Composer minus the auto-generated spectral graphs. This tool can be found in both GHL Control Center and GHL Connect app.
- Connect to your ProfiLux controller via GHL Control Center or GHL Connect app
- Choose your desired light schedule building tool
Creating a light schedule via Light Composer
Creating a light schedule via Multi-Channel Setup
If you already have an existing LC project that you want to use, you can create a backup copy of that project and upload it onto the ProfiLux by following the steps in this video.
Troubleshooting
If you notice that one or more of your LXs are not responding to your light schedule, do the following:
- Use the LX touch keys and verify that the light is on SLAVE MODE
- Verify that the correct address and channel has been assigned. By default the PWC card communicates on channel 11 which means ALL fixtures must be on this same channel in order for them to respond.
If one or more LX LEDs are flickering, it is likely due to another device in the area also communicating on the LX and PWC’s default channel (11). The fix would be to set the PWC card and LXs to communicate on a different channel. To change this, do the following:
- Connect to your ProfiLux via GHL Control Center
- Go to the System settings page and click the PWC expansion card
- Click Configure and choose a different channel number
- Go to each LX fixture and set them to the same channel
For example, if the PWC’s new channel is (8), all LXs must also be set to channel (8).