About CYCLIC Timer function
The timer function within the ProfiLux is a very versatile feature which can be used for performing different types of timer tasks. In this article we will focus on the CYCLIC timer function.
The CYCLIC timer mode allows you to run a very special set of switching sequences. With this mode, the timer is switched ON and OFF alternatively, always after a certain waiting time has elapsed.
In order for a cyclic timer to work, it requires a minimum wait time and maximum wait time. With this information, the ProfiLux repeats this pattern based on the timer schedule you set. With a cyclic timer, you can freely choose to have it turn ON and/or OFF after a specific amount of time. You also have the option to let the ProfiLux determine the switching ON and OFF times based on the minimum and maximum wait times you set. In this scenario, the switching ON and OFF times is determined by a random generator.
One timer cycle can consist of 1 – 4 pairs of switch-ON and switch-OFF waiting times. After the last switch-OFF of the cycle, the cycle starts again from the beginning.
All waiting times are adjustable in the range from 1s – 65,535s.
Here’s an example of how a cycle with 2 switch-ons and 2 switch offs will function:
| Min. wait time | Max. wait time | Result | |
| Switch ON 1 | 10s | 20s | After 10 - 20 seconds, timer is switched ON |
| Switch OFF 1 | 60s | 60s | After 60 seconds, timer is switched OFF |
| Switch ON 2 | 300s | 1000s | After 300 - 1000 seconds, timer is switched ON |
| Switch OFF 2 | 1s | 30s | After 1 - 30 seconds, timer is switched OFF |
Before you begin
- If you are not familiar yet with the operating concept of the ProfiLux Controller, we highly recommend to first read the Knowledgebase Article “How the ProfiLux Controller works“. It gives you an understanding of the basics and the operational concept of the controller.
Create the Timer function
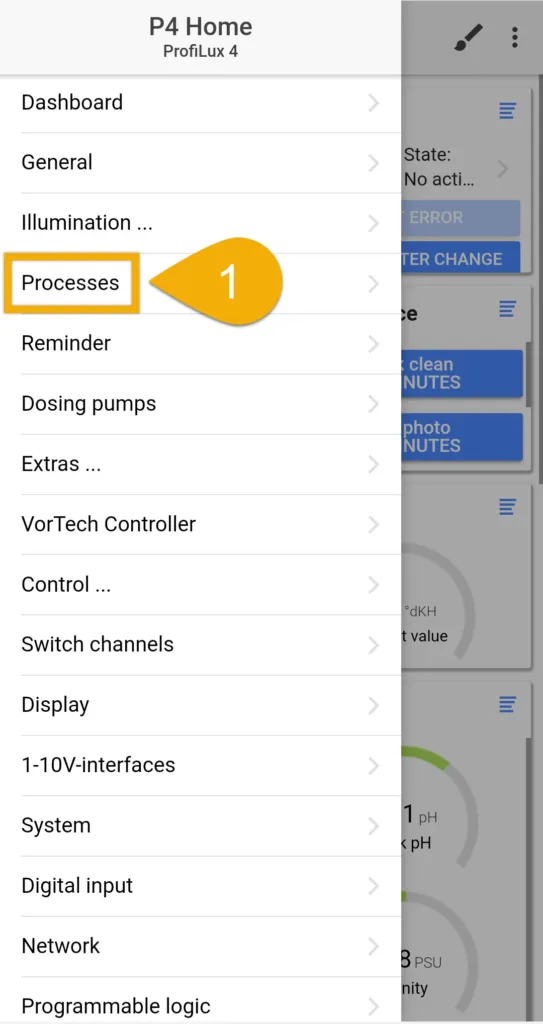
- Press the Menu icon, select Processes
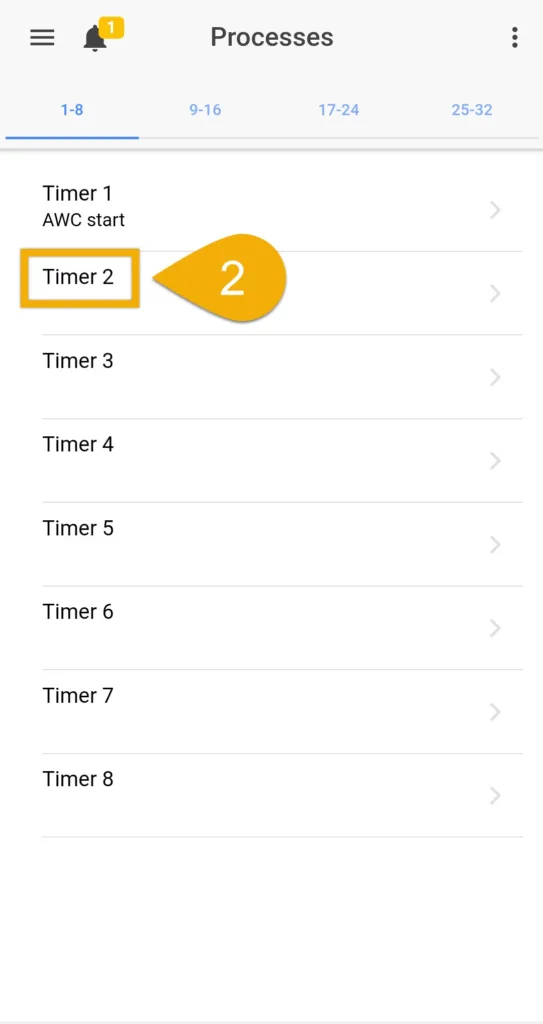
- Select an unused Timer function
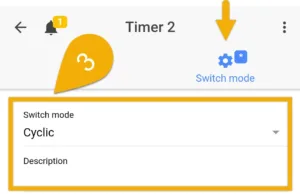
3. Press the Switch mode tab, select Cyclic, type-in a description and press SAVE when done
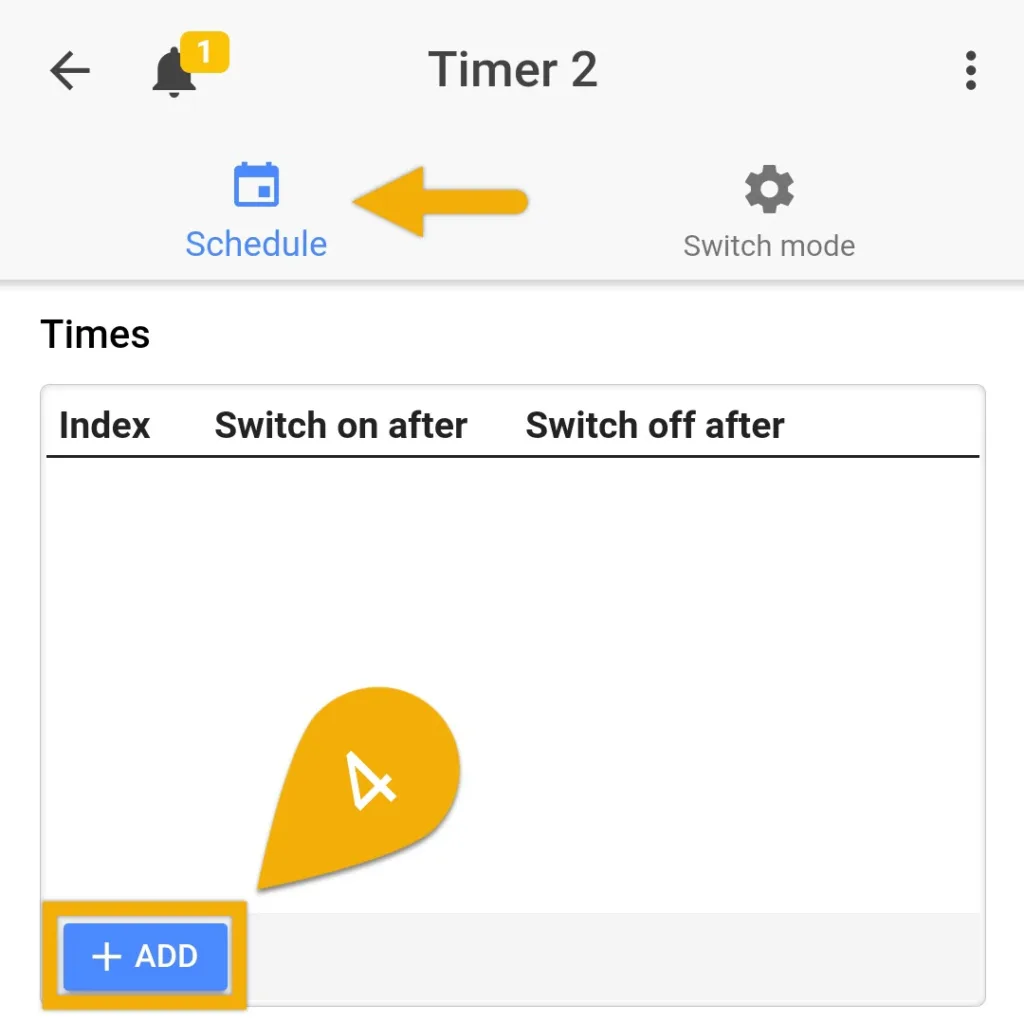
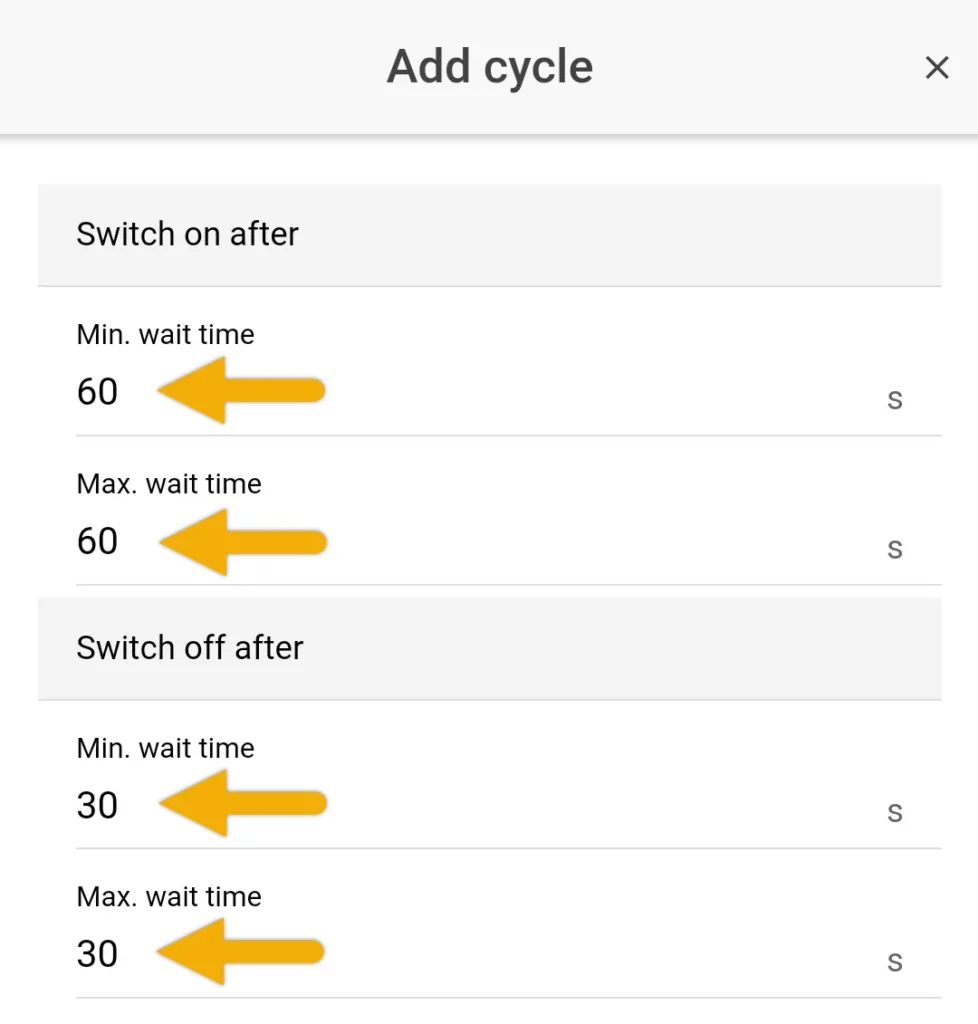
4. Press the Schedule tab, press ADD and specify the minimum and maximum times for when the timer shall switch ON and OFF
NOTE: The min and max times can be set to any number within the 1s – 65,535s range.
If you would like to have multiple cycles, press ADD again and specify the duration of that cycle.
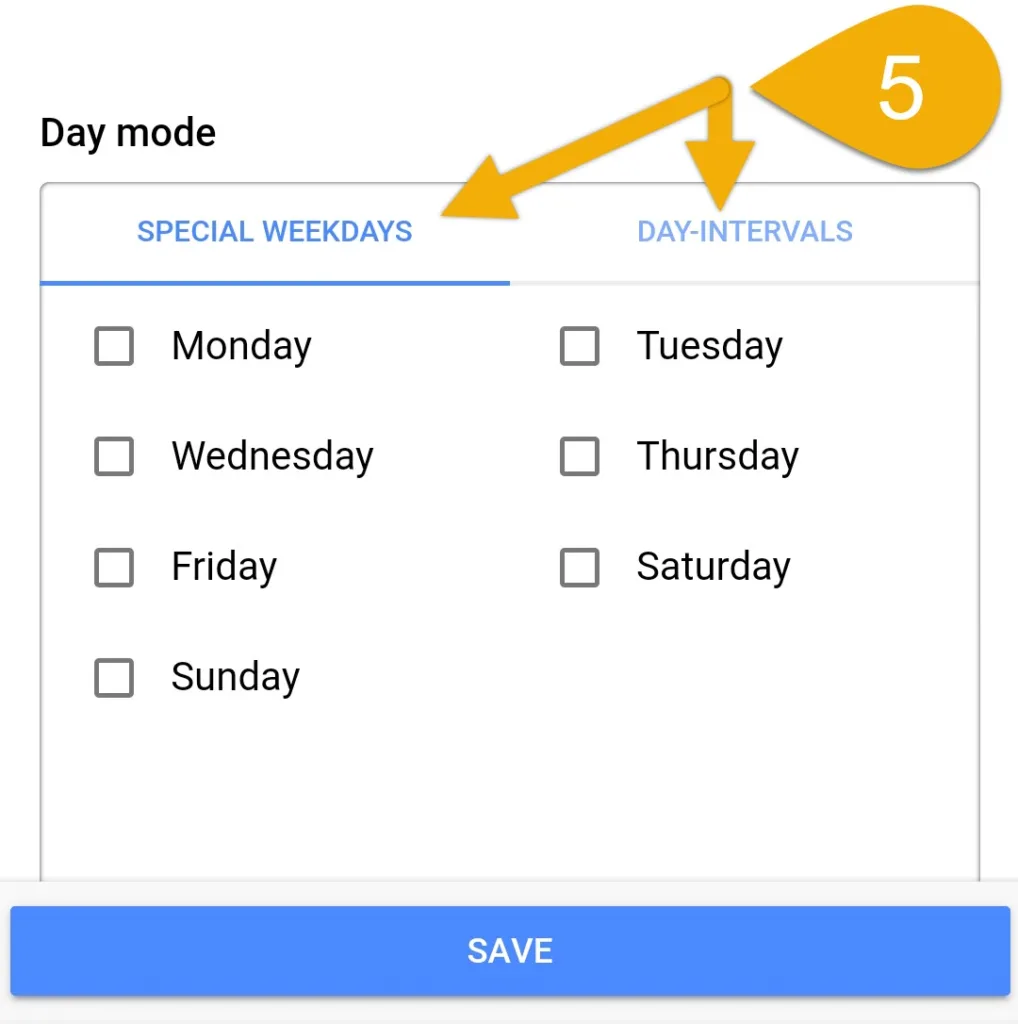
5. Select a Day mode and specify how often to run this timer
6. Press SAVE
About Day mode
The Day mode you select will depend on how you wish to run the timer schedule
Special weekdays: Allows you to choose the days of the week to run this timer
Day intervals: Allows you to choose how often to run this timer in intervals.
For example, Repeat every 3 days = Timer will run every 3 days
Starting in — is a delay. If you want to delay the timer, specify by how many days.
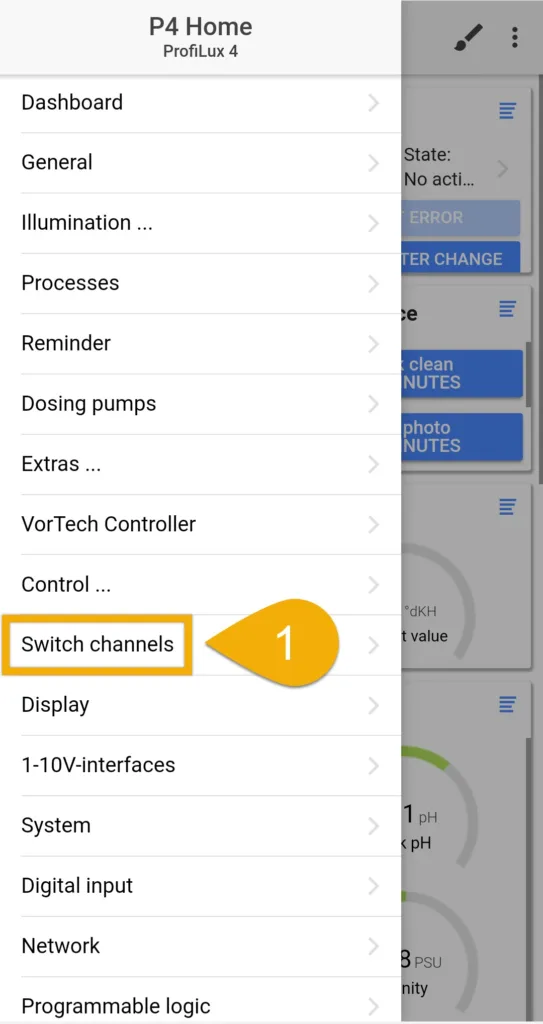
- Press the back-arrow, press the Menu icon, select Switch channels
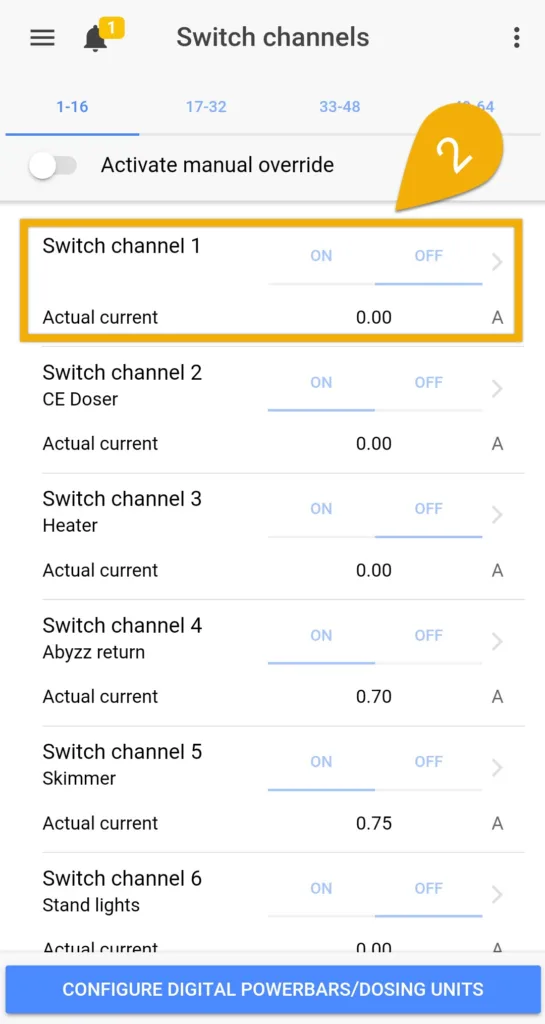
- Select the Powerbar outlet that you want reacting to the timer function
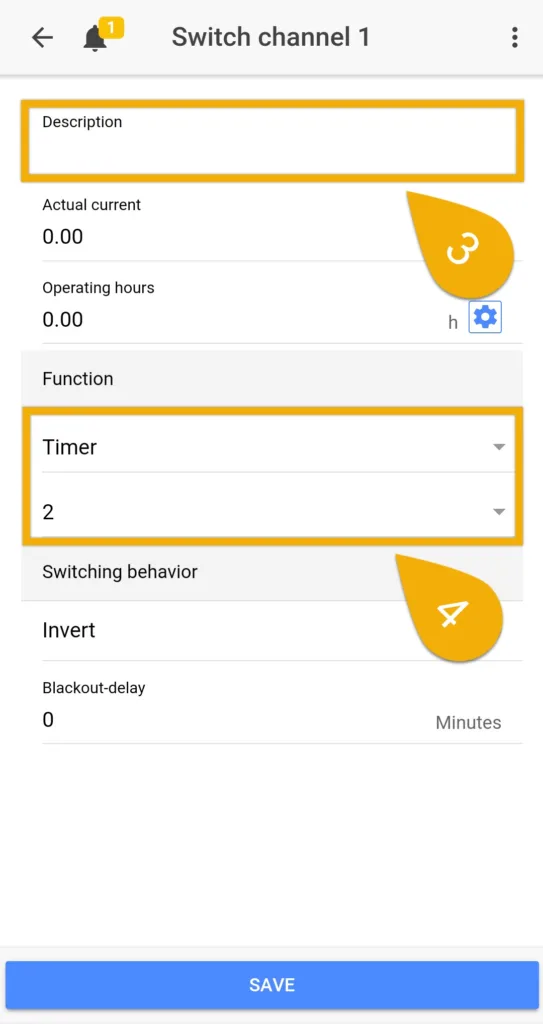
- Type-in a description
- Set the function to TIMER and select the TIMER number you used when you created the function, then press SAVE
For example, if you created the function on TIMER 2, set the function to TIMER 2. If TIMER 1 was used, set the function to TIMER 1.
