About the GHL Logbook
The Logbook is your digital notepad for recording various tasks, events and reminders. With the Logbook, you can record your tests results from manual tests. As you continue recording these results, the Logbook will automatically add these data points to a clean, easy to read chart.
The Logbook tool is available to all ProfiLux, Standalone Doser and Mitras LX owners who use the GHL Connect app and myGHL to access their device.
As long as you have your GHL device added to your myGHL account, you can work in the Logbook using any connection option you want (app-Wi-Fi, app-hotspot, or myGHL). All your entries are automatically synced across the app and myGHL.
Create a Logbook category
1. Connect to your GHL device using the app or myGHL
2. Press the Menu icon and select Logbook
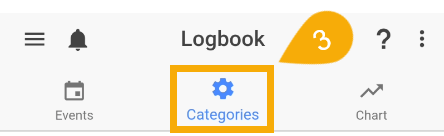
3. Select the Categories tab and press ADD
4. Choose from the list of category types
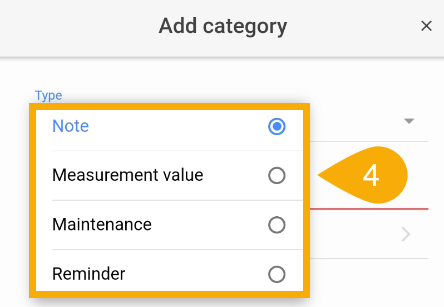
The option you should choose will depend on what exactly you’re looking to record into the logbook.
Here’s a breakdown of each option:
- Note: Choose this option to record simple notes
- Measurement value: Choose this option if you want to manually record test kit results
- Maintenance: Choose this option if you want to record “maintenance” related events
- Reminder: Choose this option if you want to setup reminders
In order to give you the most details about the logbook setup process, we’re going to choose the “Measurement value” category type so you can see how one sets this up. The setup steps for other category types are similar.
5. Choose the parameter you want to use
6. Choose the color you want to use for this category
7. Type-in any comment or notes you want to add for this category

8. Choose the unit of measure to use for this parameter
9. Choose the number of decimal places to use for this parameter

The number of decimal places you should choose depend on the parameter you are creating the category for. Use the preview field as a guide for selecting the correct number.
For example, if you are creating a category for calcium, you would choose (0) decimal places because calcium is measured in whole numbers; 400, 395, 405, etc.
If you are creating a category for Phosphate, you would choose (2) decimal places so you can record values like 0.02, 0.04, 0.15, etc.
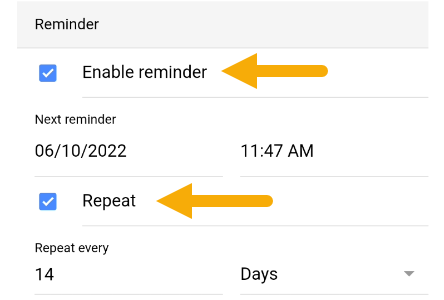
Use the reminder feature!
10. Press ADD and the new category will be added. If you wish to add more categories, press the ADD button.
11. When you’re done adding categories, press SAVE
Recording events
Once your categories are created, you can go ahead and begin recording events.
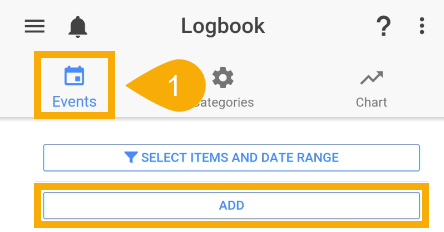
1. Press the Events tab and press ADD
2. Choose the category you want to add…when done, press ADD, then SAVE
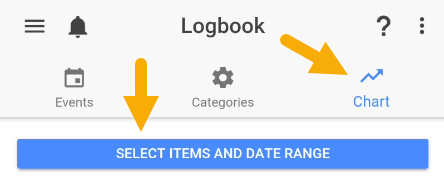
If you would like to view your entries on a chart, press the Chart tab and choose the date range you want to view. To view more than one category type on the chart, use the “Compare with” section.
Need an overview?
If you’d like to see an overview of how to use the Logbook, press the (?) icon in the app or myGHL. This will start the guide and show you how to navigate the page.