About This Article
Welcome to the initial setup guide for GHL devices!
This article will show you how to connect and setup your device for the first time using the GHL Connect app. The information you’ll find here applies to the following products:
- ProfiLux controllers (Mini / Light / 4e / 4 / IL)
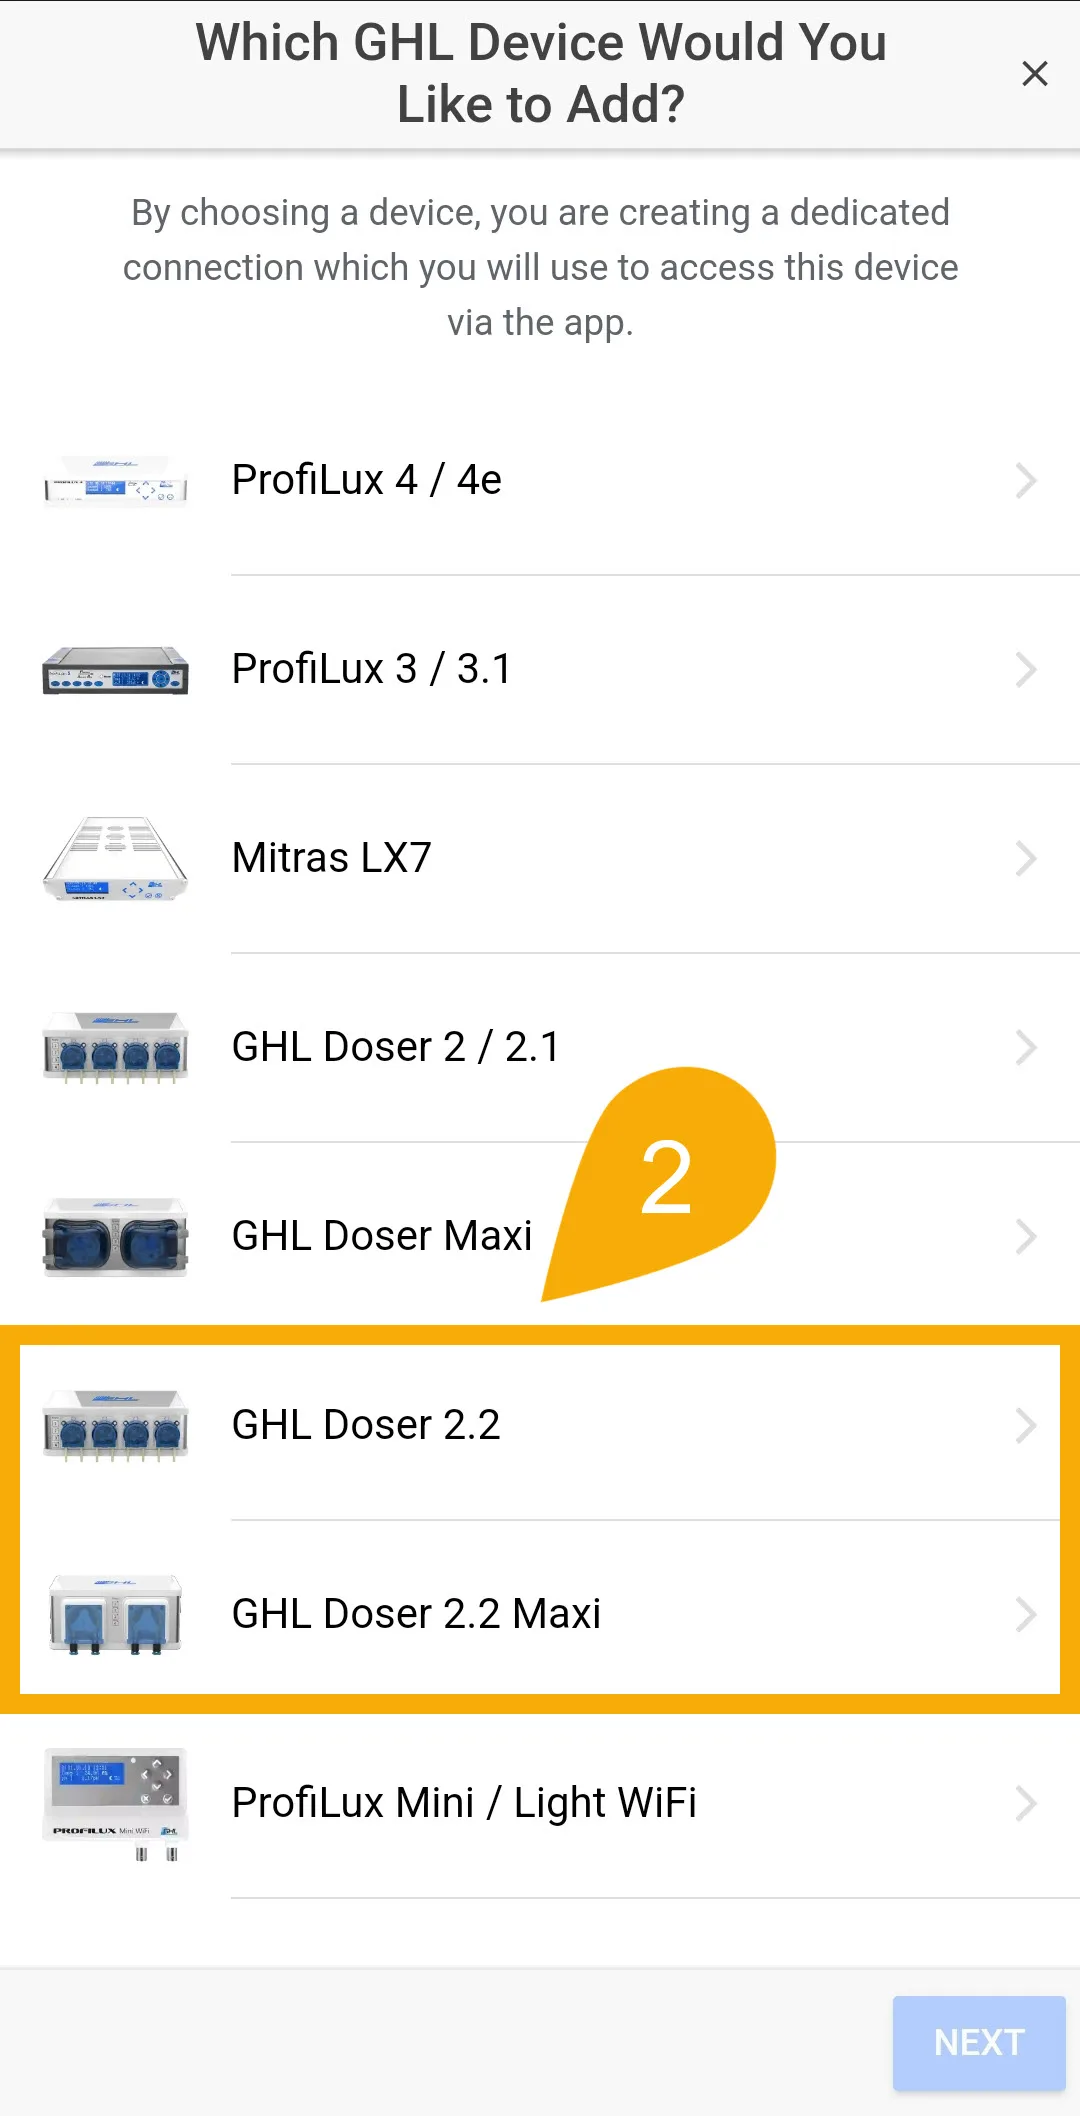
- GHL Doser Standalone (2.2 / 2.2 Maxi / IL)
- Mitras LX7 (if set to Standalone or Master mode)
If you have one of these devices and are looking for setup instructions, follow the links below:
Preparation
Before you begin with the initial setup, do the following:
- Find a suitable place for your GHL device, away from splash areas and excess humidity
- ProfiLux: Connect probes and accessories as needed
- Dosing pump: Connect dosing tube adapters or nozzles
Download GHL Connect App
- Go to the app store on your phone and search for GHL Connect
- Download the app, then open it
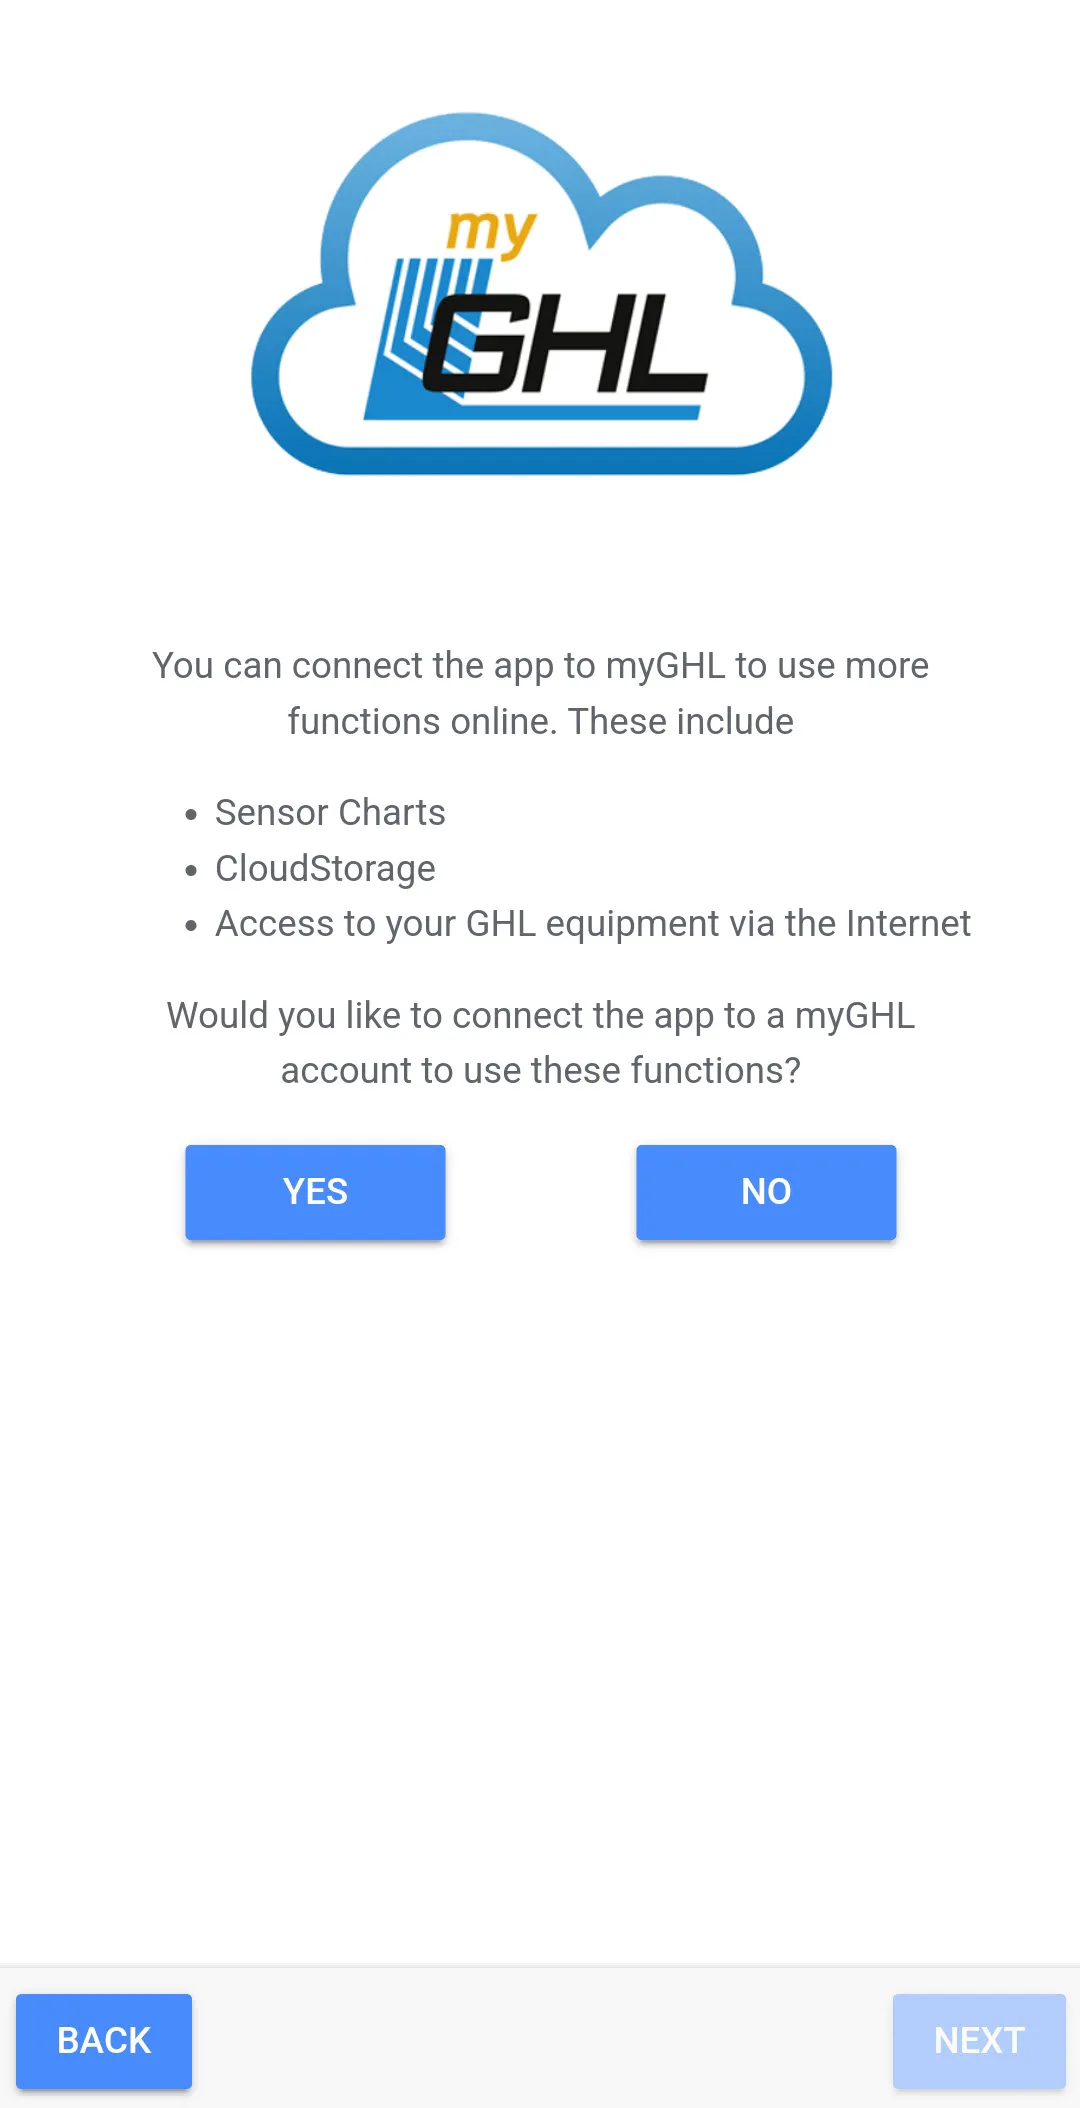
- Follow initial app setup steps
First-time Setup: Connect to Wi-Fi
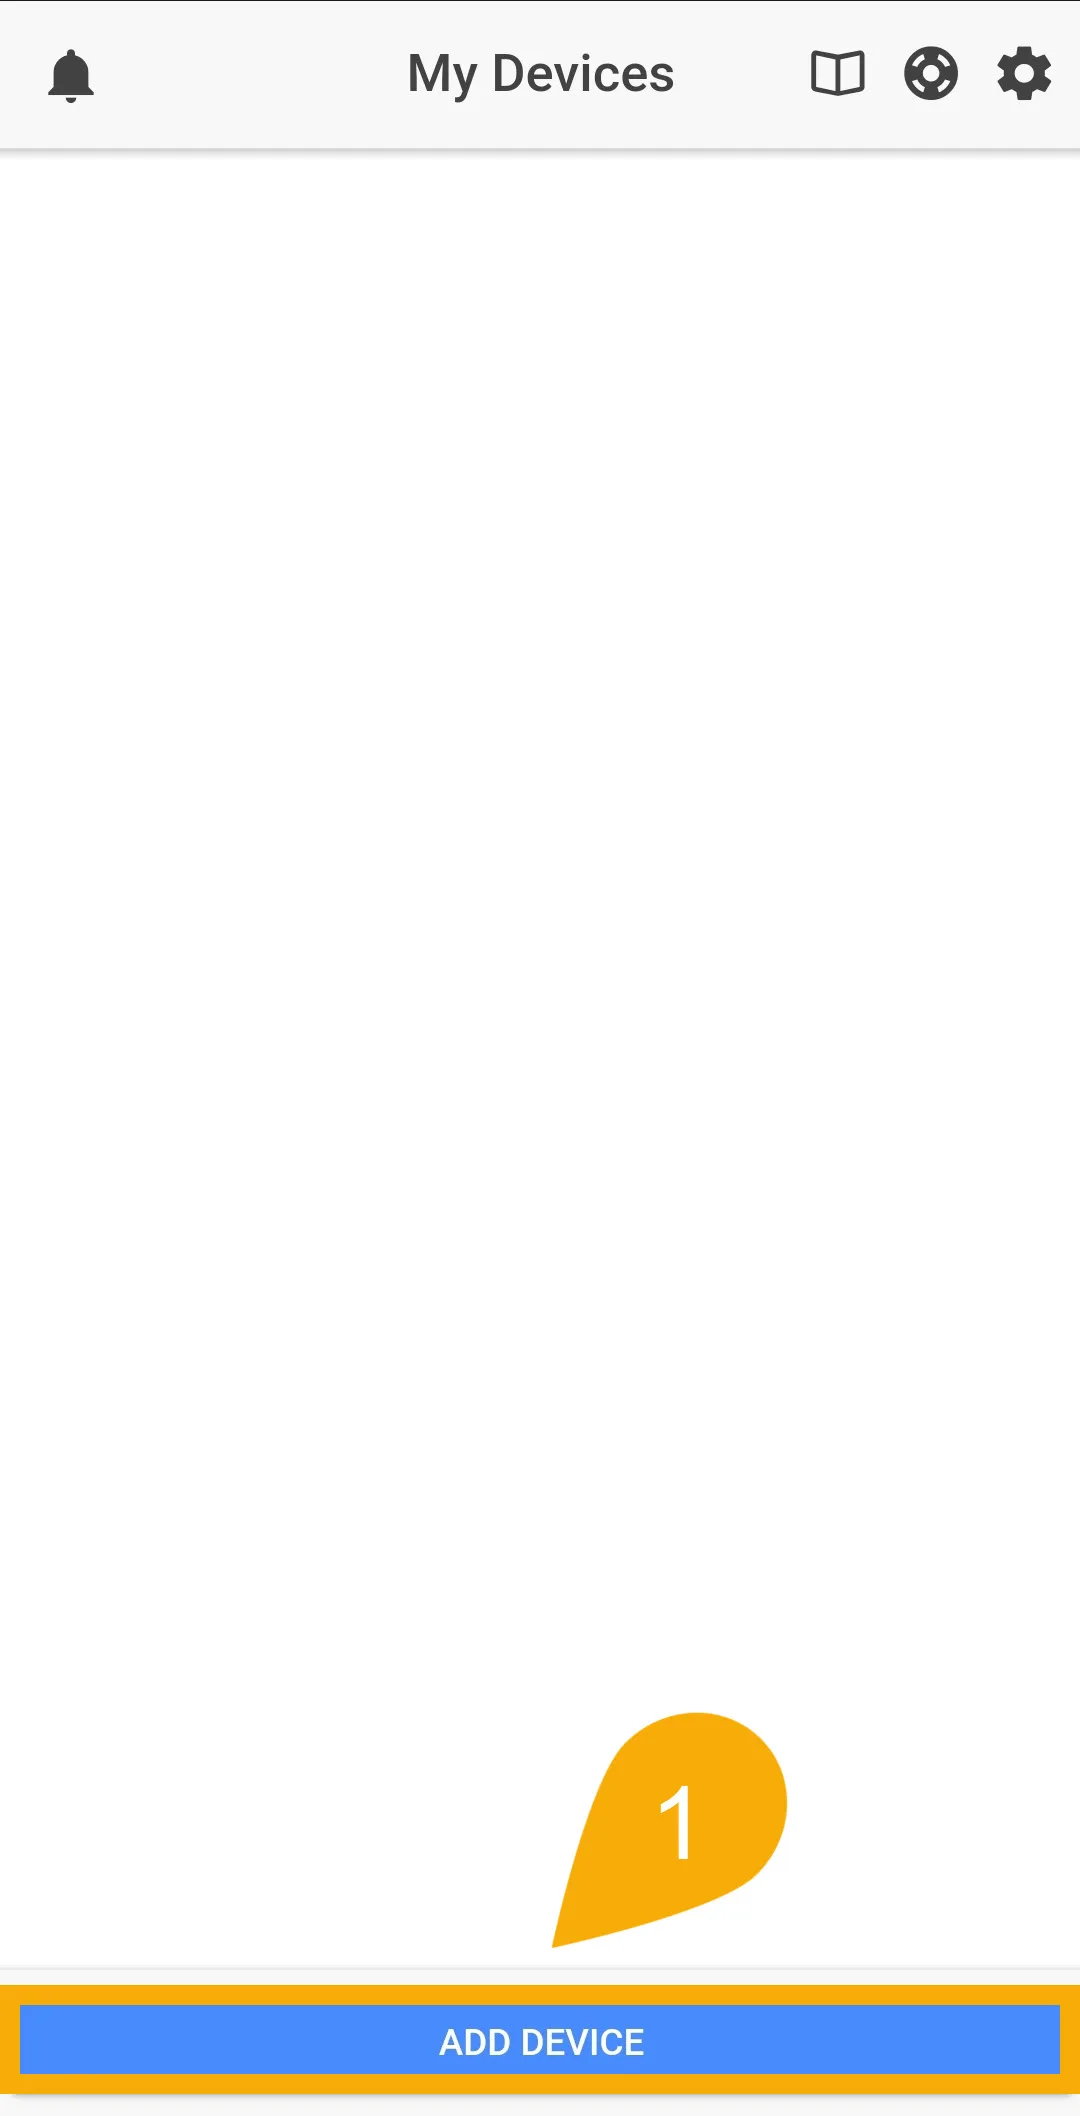
- In the “My Devices” page, press ADD DEVICE.
- Select your GHL Device.
- Select Begin First Time Setup.
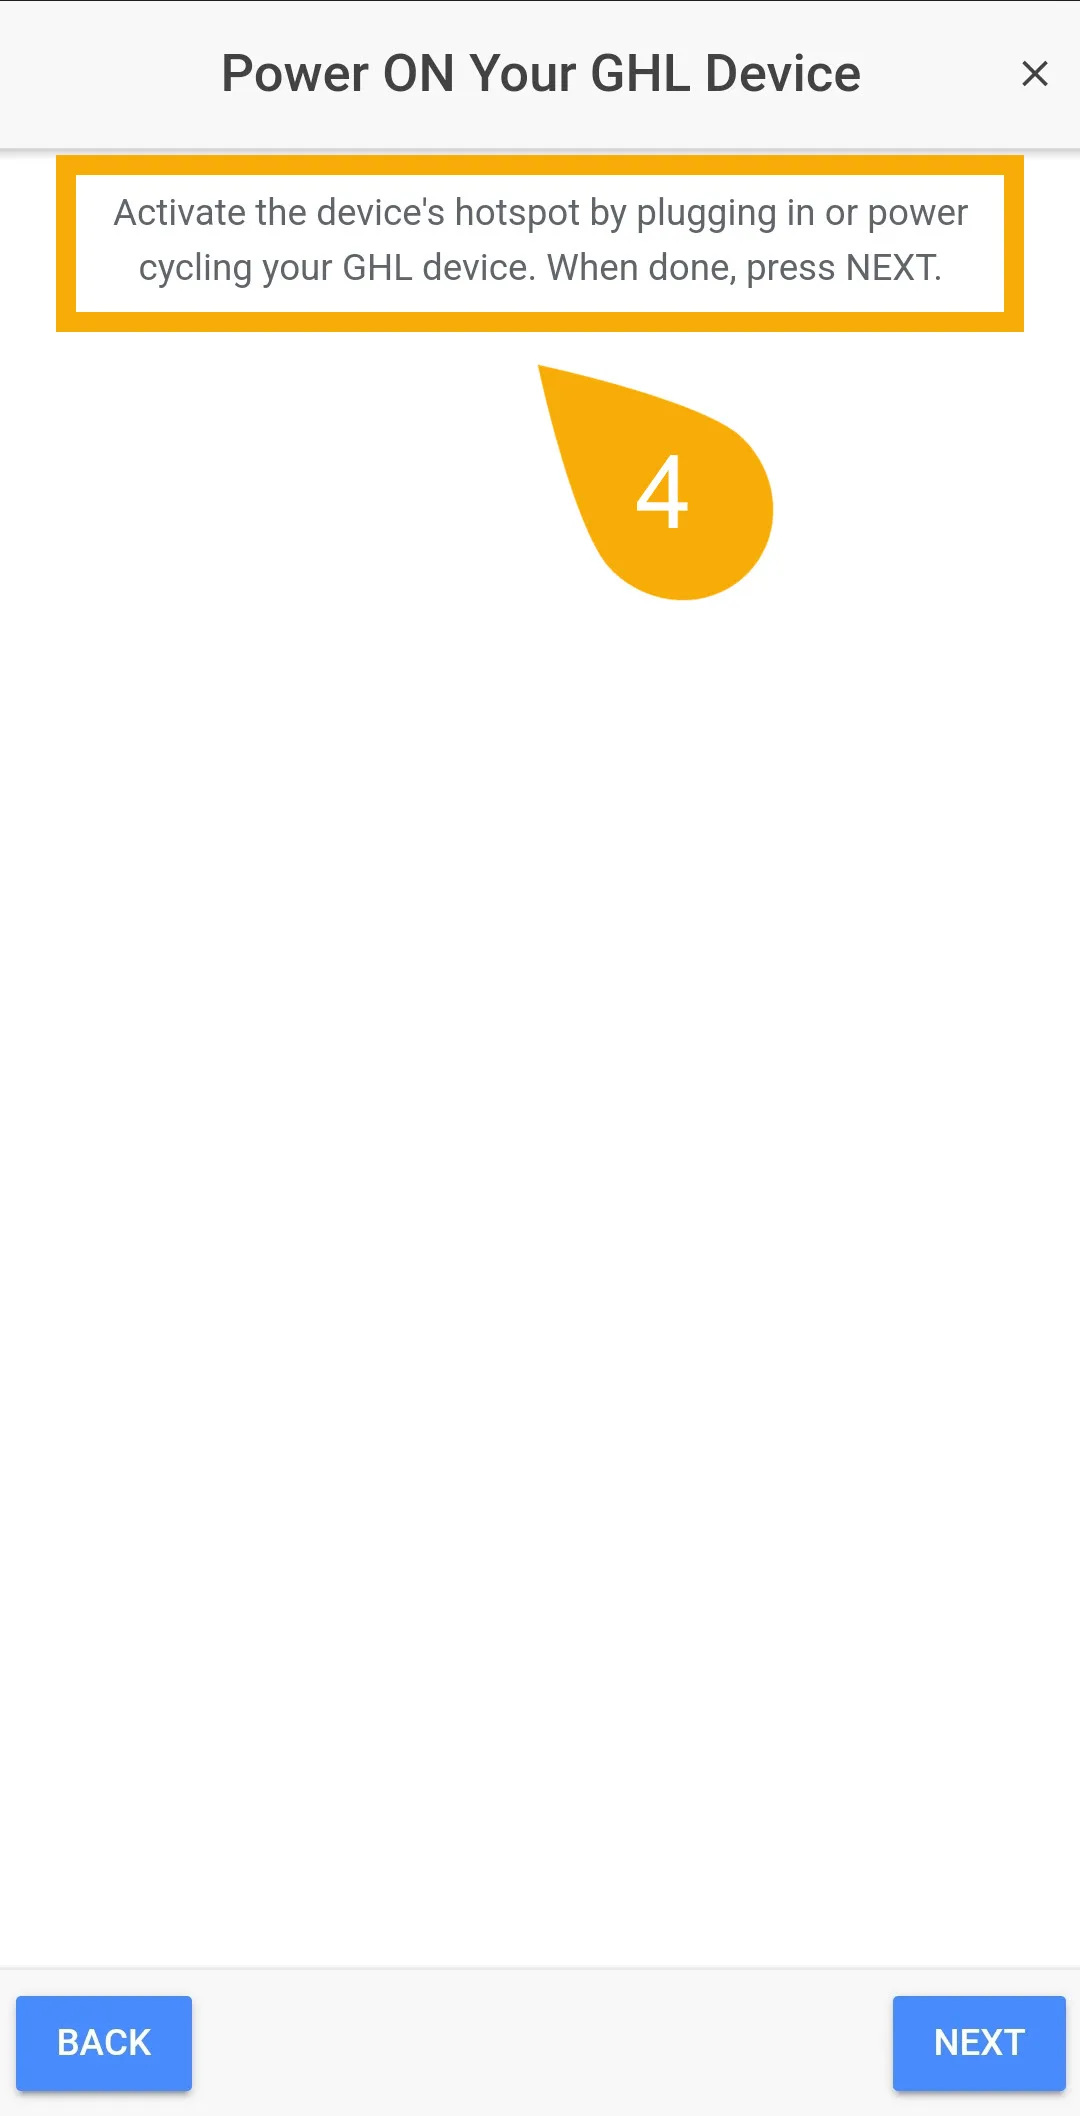
- Power cycle (turn OFF/ON) the GHL device to activate its hotspot, then press NEXT
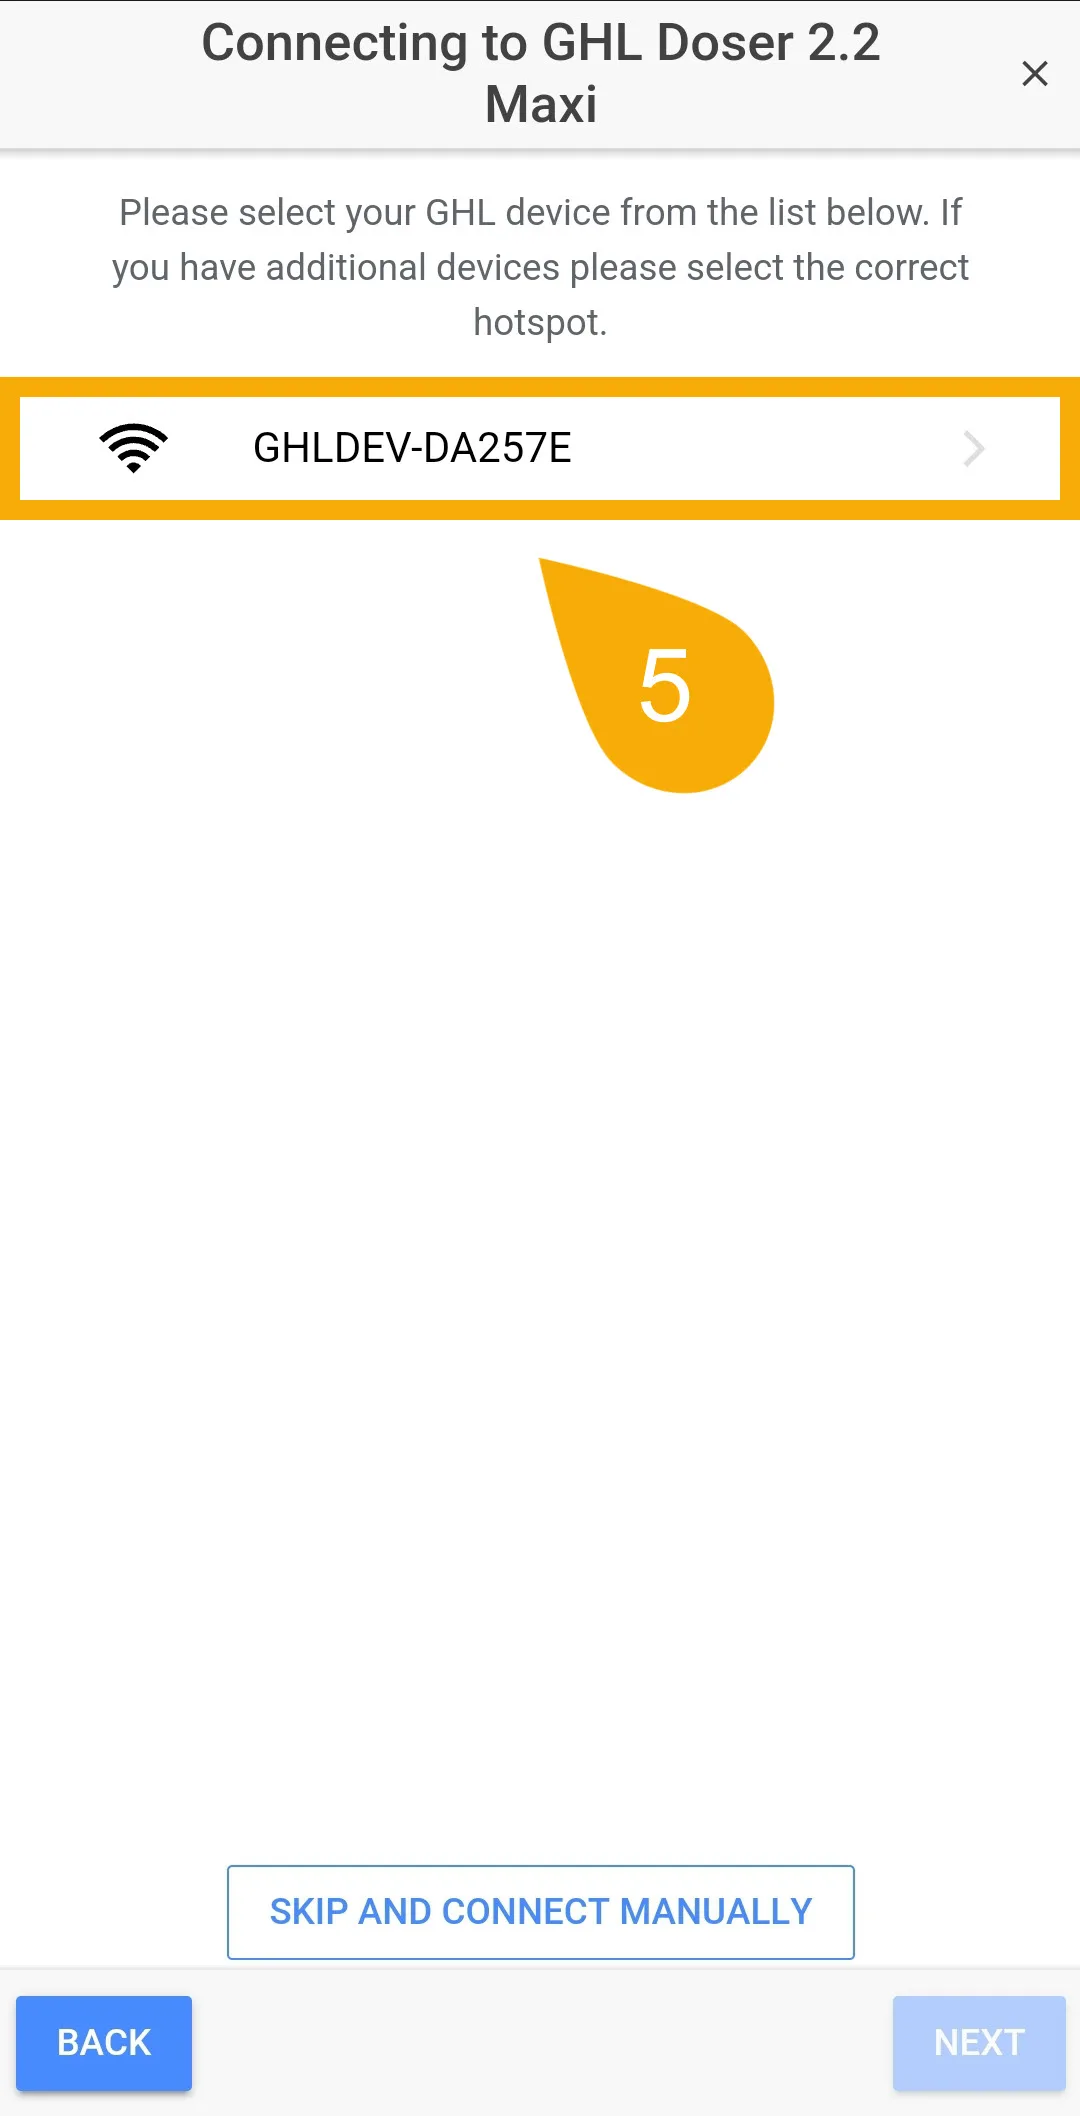
- The app will now display detected GHL devices, select your device.

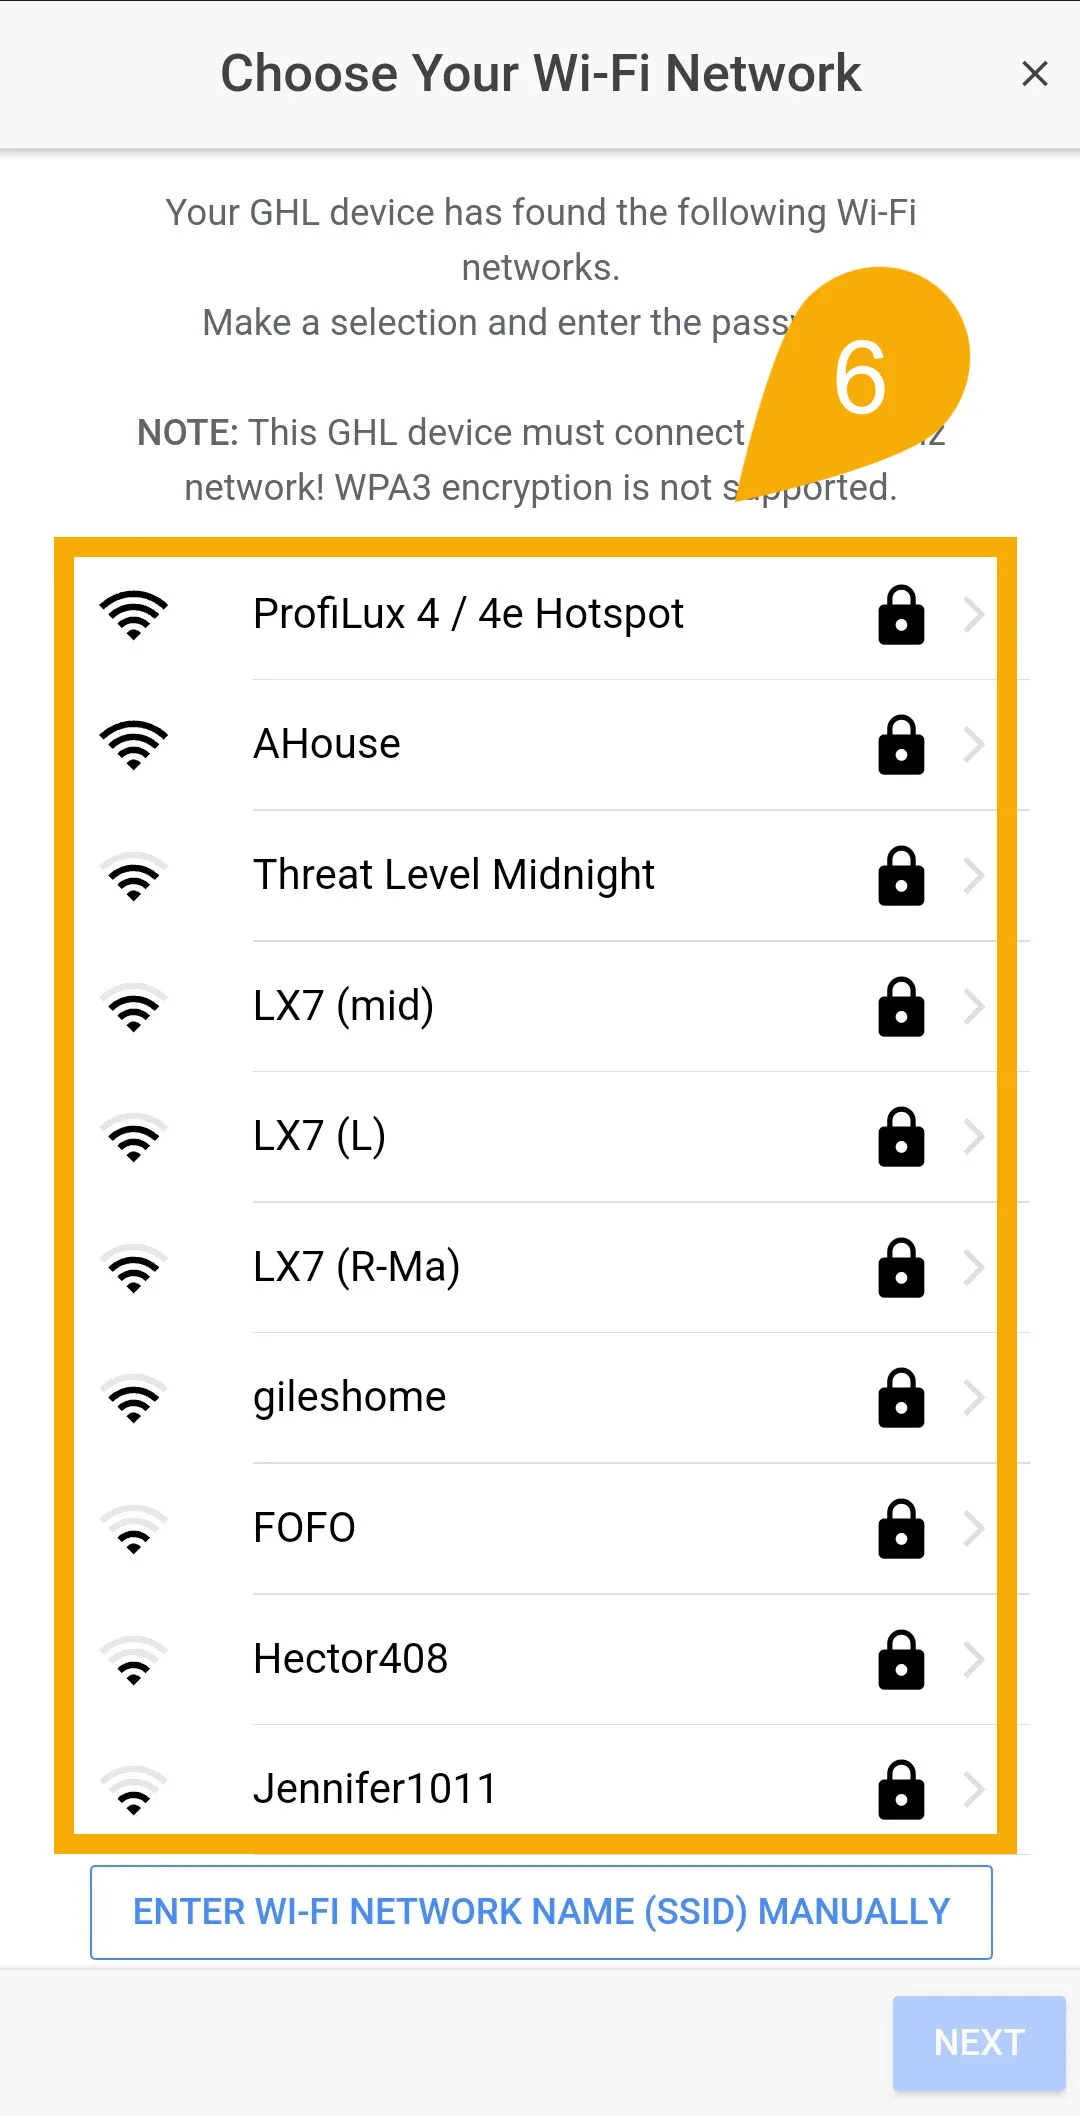
6. Choose your Wi-Fi network from the list and enter your Wi-Fi password.
To ensure that your GHL device successfully connects to your Wi-Fi network, make sure your network name (SSID) and password contains no more than:
Network Name (SSID): 31 characters
Password: 63 characters
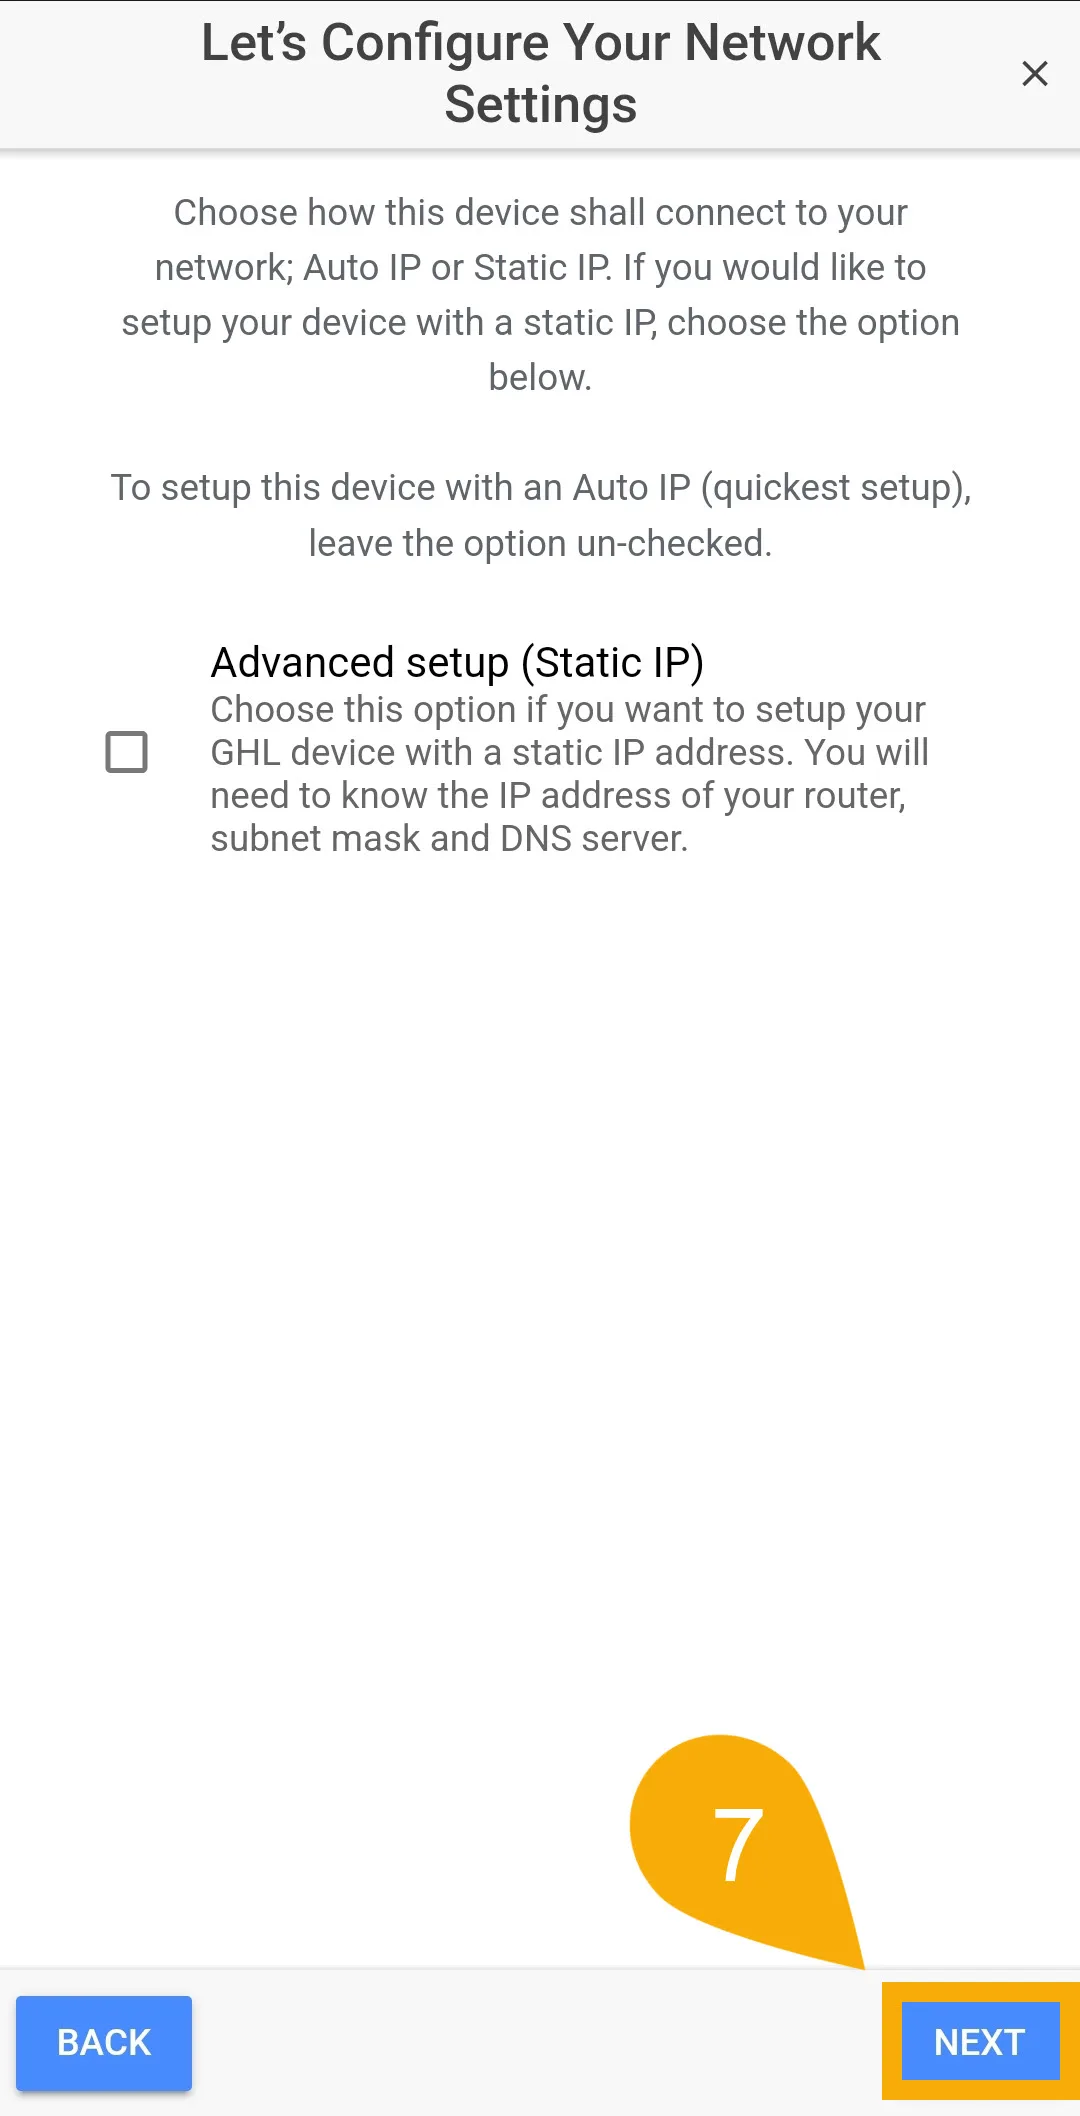
7. Choose if you’d like to setup your device with an AUTO IP or Static IP.
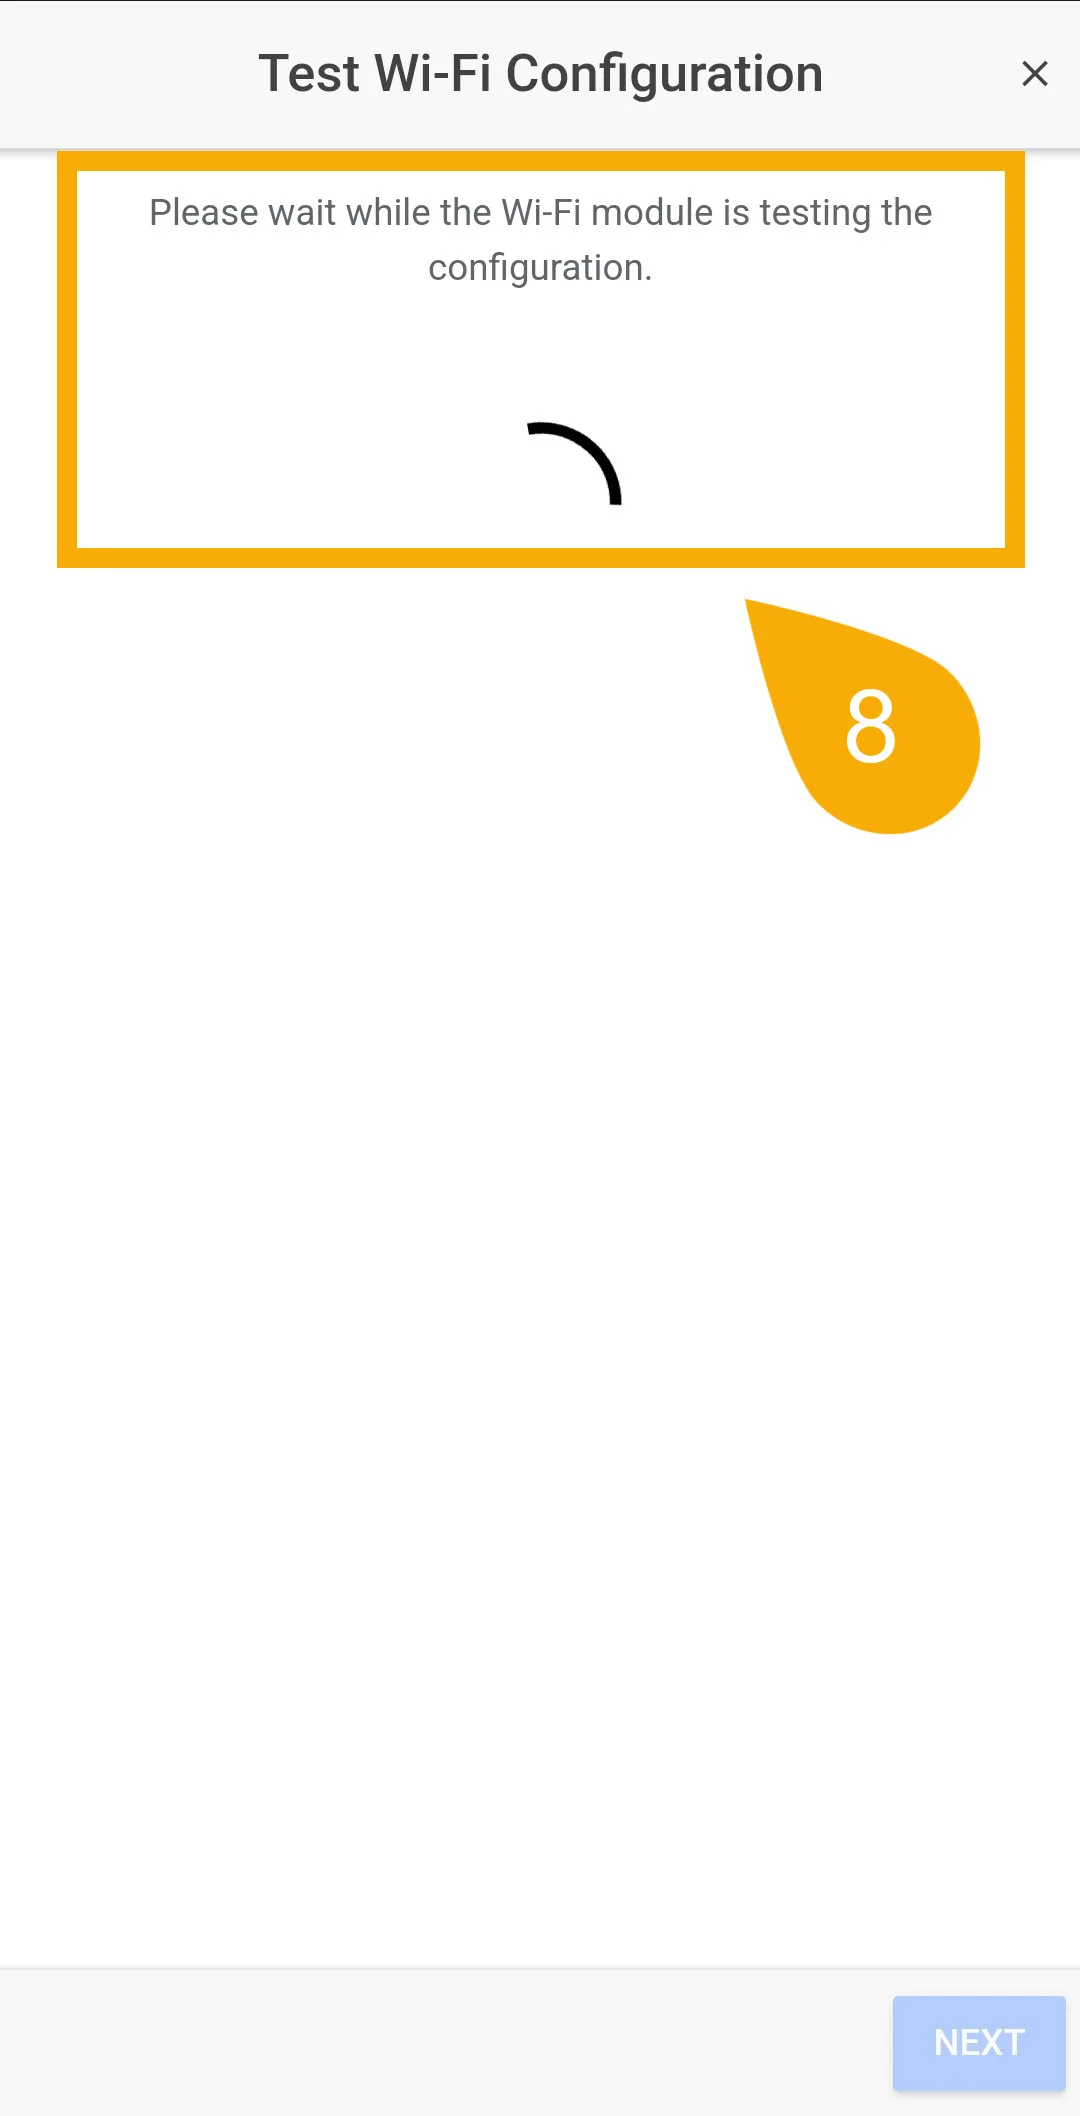
8. The app will now test the Wi-Fi credentials you entered. If there’s an error, the app will tell you how to proceed.
9. Give this connection profile a name; this is the name which helps you identify it as your home network connection profile.

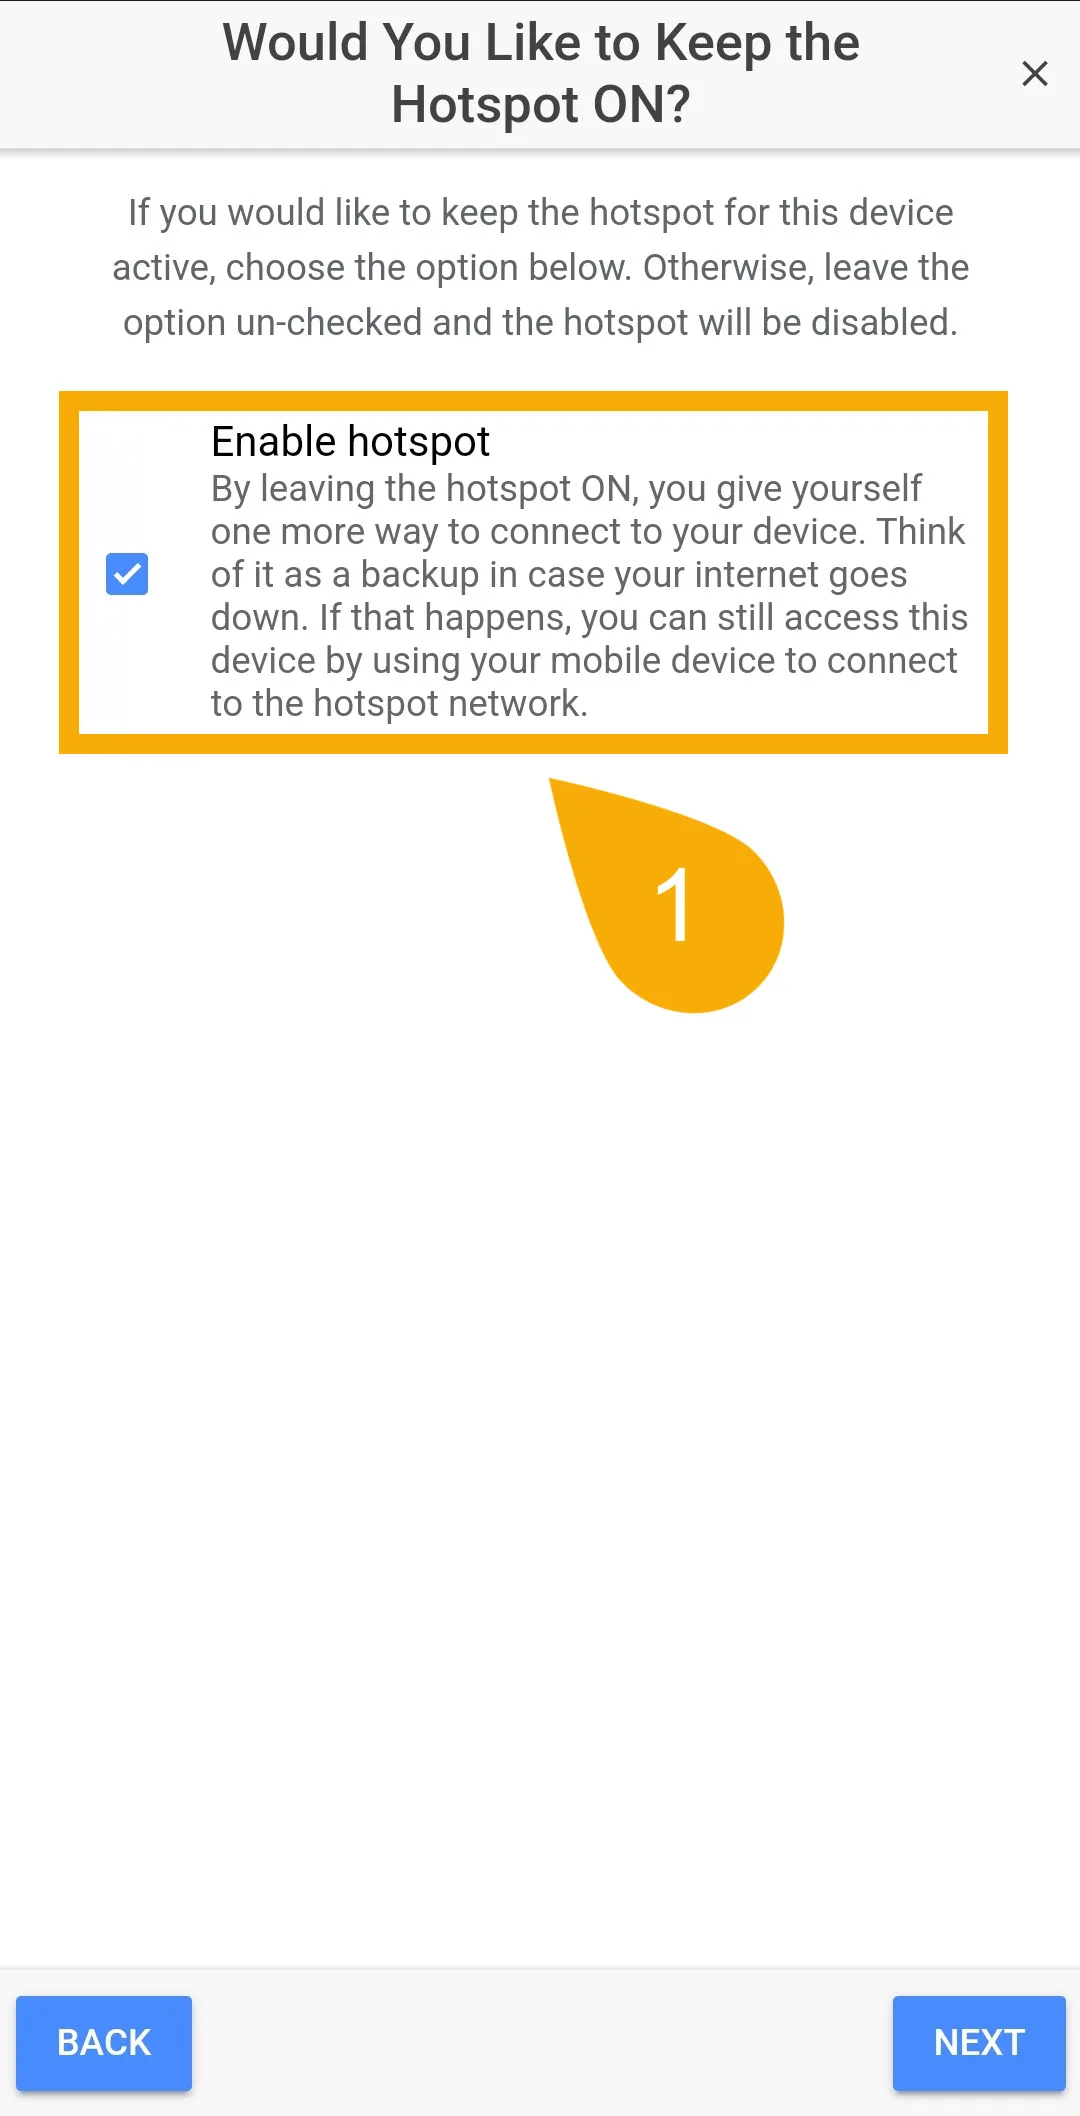
Optional: Enable Hotspot Signal
Optional: Enable Hotspot Signal
- Choose if you would like to enable the hotspot signal for your GHL device.
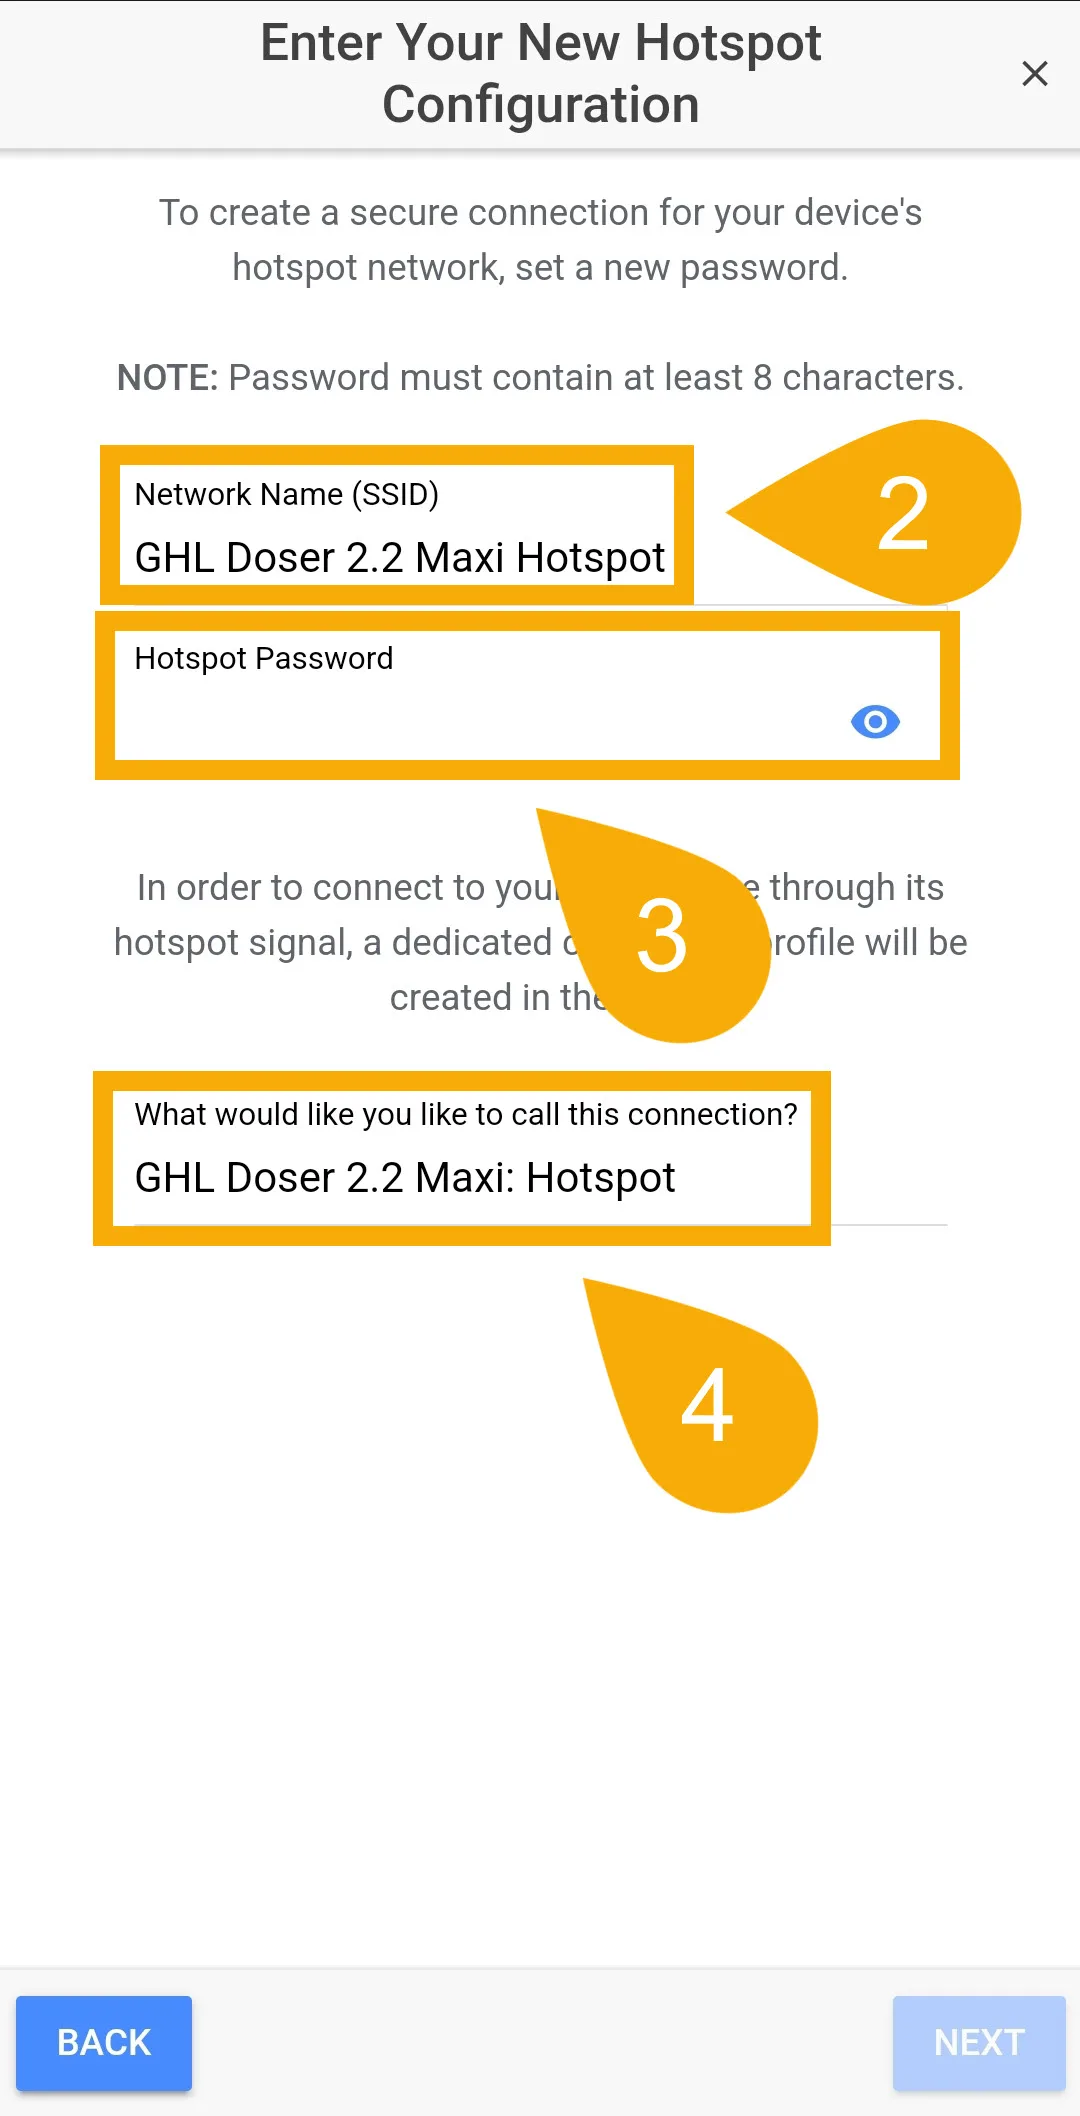
- Rename the hotspot or leave it as is; this is the name that will show when you search for nearby Wi-Fi networks.
- Give this hotspot a new password.
- Give this hotspot connection profile a name, then press NEXT.
This password is what you will need to enter if you ever need to connect directly to your GHL device’s hotspot network. Write it down somewhere and don’t lose it!
Completing the Initial Setup
After pressing NEXT (from above step), the GHL device will apply the network settings you entered. If there is an error, the app will tell you how to proceed. If all your information was entered correctly, the app will tell you the setup complete.


Connecting For The First Time
With the initial setup completed, you will now see up to 2 connections listed; local and hotspot. The local connection (named Home) is what you will use when your phone or tablet is connected to the same network as the GHL device. Choosing your local connection will get you connected to your device.
If you chose to enable the hotspot, you will also have a 2nd connection listed. This is what you will use as your backup in case you want to connect this way.

If you ever need to connect via the backup connection, do the following:
- Use your phone or tablet and search for nearby Wi-Fi networks.
- Connect to your GHL device’s hotspot signal.
- Enter the hotspot password you set during the initial setup.
- Once connected, go to the GHL Connect app and choose the backup hotspot connection.
What’s Next?
Now that you’ve successfully completed the initial setup, you can move onto setting up your GHL device so it does what you want it to do. In this section, you will find a list of examples and ideas for setting up your device. Simply click on the direct link to be taken to the how-to KB article.
—General recommendations
Here you will find how-to articles that apply to all GHL devices…
—ProfiLux (Mini / Light / 4e / P4 / IL)
Other basic setup steps
Probe Calibration and Recording
Feed Pause and Maintenance Mode Control
Lighting and Timer Control
Auto Top Off, Leak Detection, etc.
Skimmer and Return Pump Control
1-10V and Pump Control
Dosing Pump and Calcium Reactor Control
Email notification and Power Cut Monitoring
—GHL Doser Standalone (2.2 / 2.2 Maxi / IL)
—Mitras LX7
How-to Video
Troubleshooting
Give this a try…
- Use your phone or table to connect to the hotspot network of your GHL device.
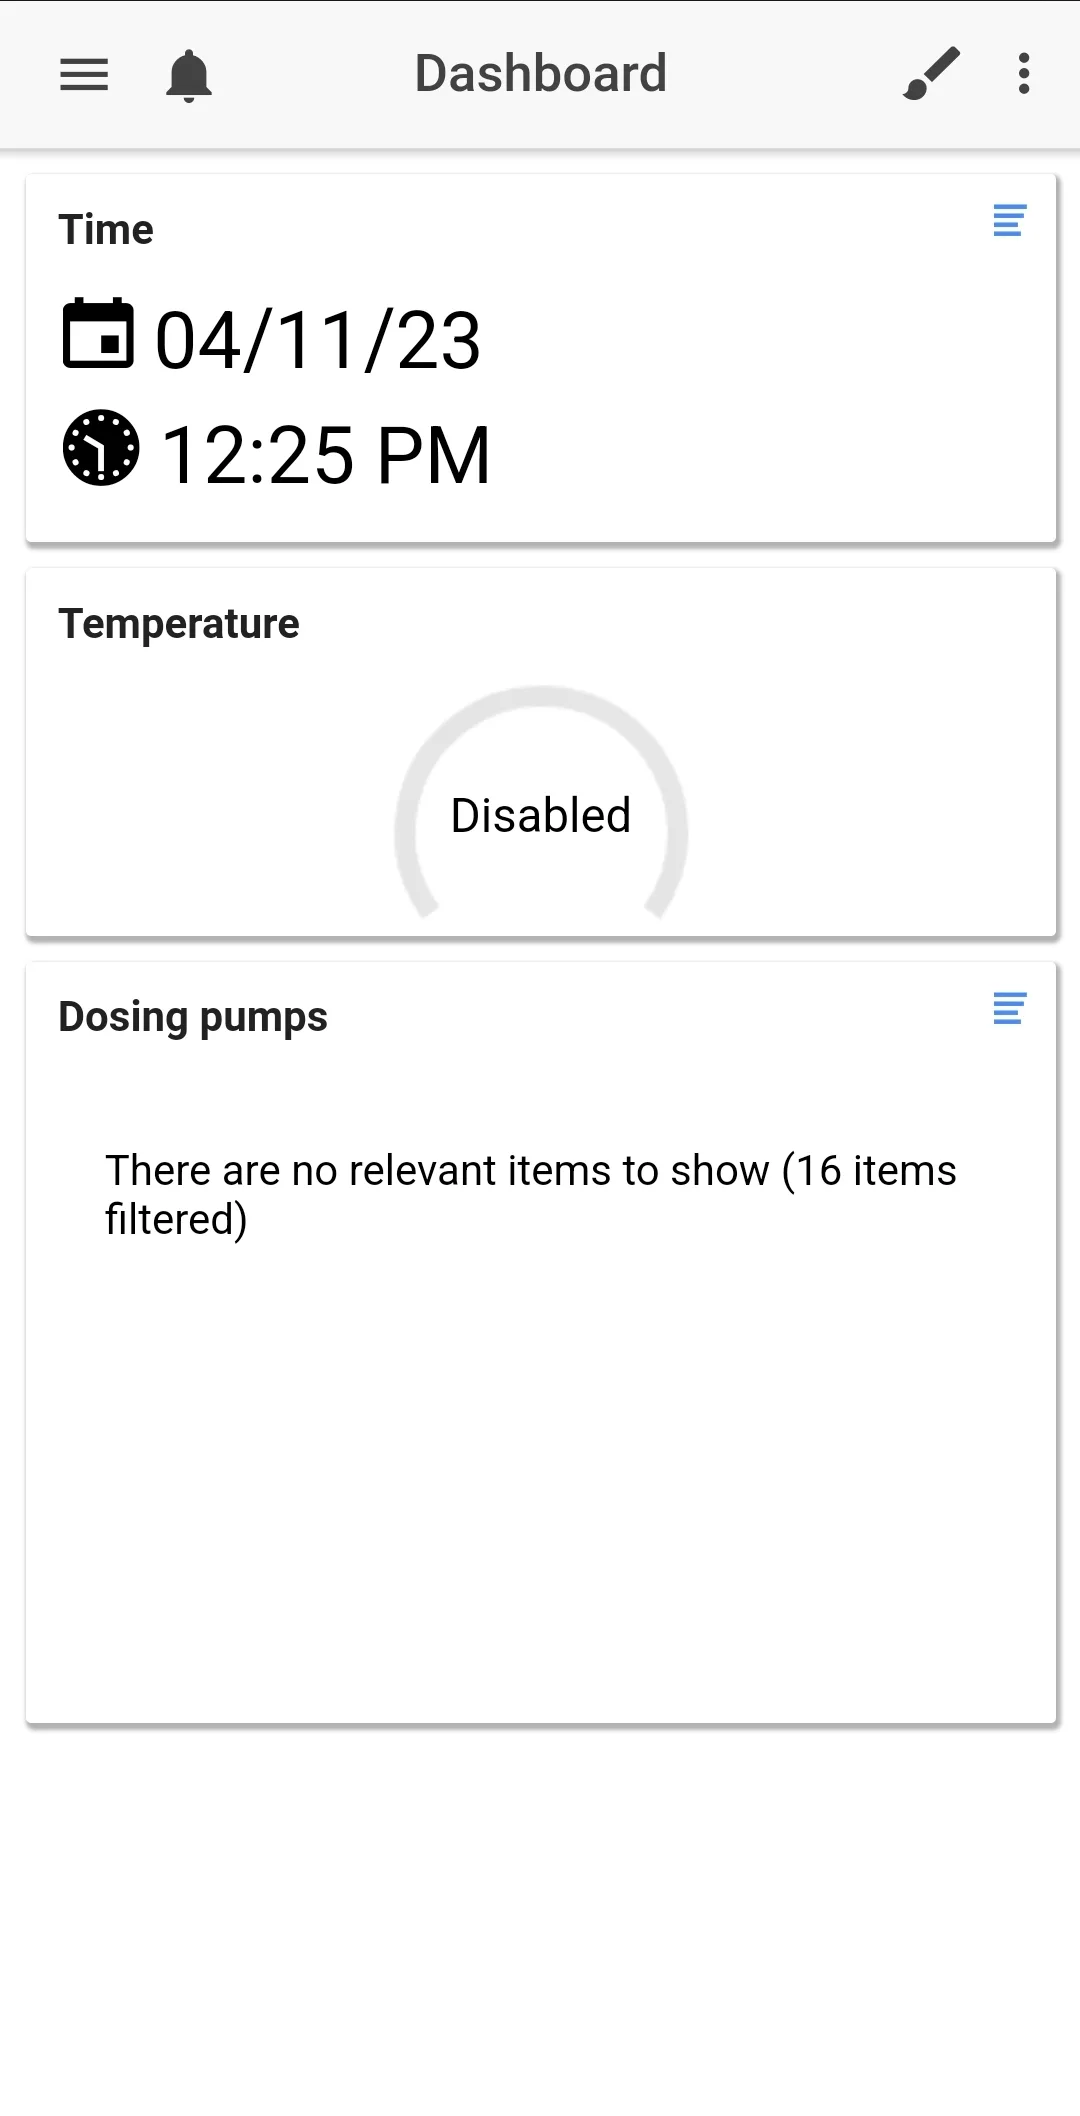
- Open GHL Connect and choose the hotspot connection, wait for the dashboard to load
- Press the MENU icon and select NETWORK
- Write down the numbers you see in the “Current IP address” field. This is the IP address which belongs to your device which is connected to your network.
- Press the 3-dots (top-right) and select DISCONNECT
Now that you have the IP address of your controller, you can create a dedicated Wi-Fi connection for it.
- Press ADD DEVICE, choose your device, select Create a New Connection
- Select Connection via home network
- In the Host/IP field, type-in the IP address of your device (These are the numbers you wrote down earlier), then press NEXT.
- Give this connection a name (ProfiLux 4 home) and press DONE
The newly made connection will now be listed.
You now have a dedicated local Wi-Fi connection to use when you are within the range of your Wi-Fi network.
Setup via Web Interface (Video)
Follow the video below!
NOTE: Steps shown in video demonstrate the process via a ProfiLux 4, but also apply to Doser 2.2 models and Mitras LX7.