About this article
Your GHL device offers multiple connectivity options with USB being one of them. This article will show you how to connect to your device via a USB connection using GHL Control Center.
Before you get started…
Before you begin, make sure you will have the following:
| Item | Purpose |
| Windows computer | Allows you to run GHL Control Center program |
| Correct USB cable | Allows you to connect the USB cable to your GHL device and PC |
Preliminary step: Download GHL Control Center
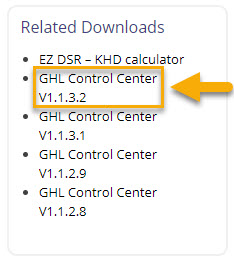
In order to connect via USB, you must first download the newest version of GHL Control Center. This program will allow you to access your GHL device settings via a Windows computer.
To download GCC, visit our downloads page and install the program to your PC.
Connect USB cable
- Take the USB cable that came with your GHL device and connect one-end to the device and other-end to your PC
When connecting the USB cable to your PC for the first time, Windows should automatically install the correct driver to your computer. This driver will be listed in Device Manager as GHL Virtual Communications Port.
![]()
Not sure if Windows is using the correct driver?
Here’s how to check:
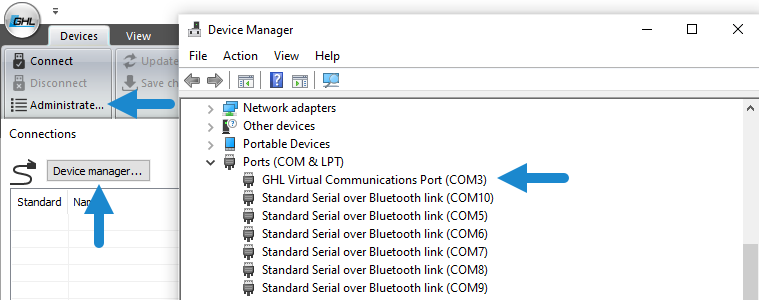
- Click the Windows search bar and type-in Device Manager, then select it
- Under Ports (COM & LPT), click the (+) icon and view the list. If you do not see GHL Virtual Communications port and instead see USB Serial Device…your computer IS NOT using the correct driver.

- To manually install the correct driver, follow the steps shown in this video:
https://youtu.be/iQ1VvjufmvM
Open GCC and create a dedicated USB connection
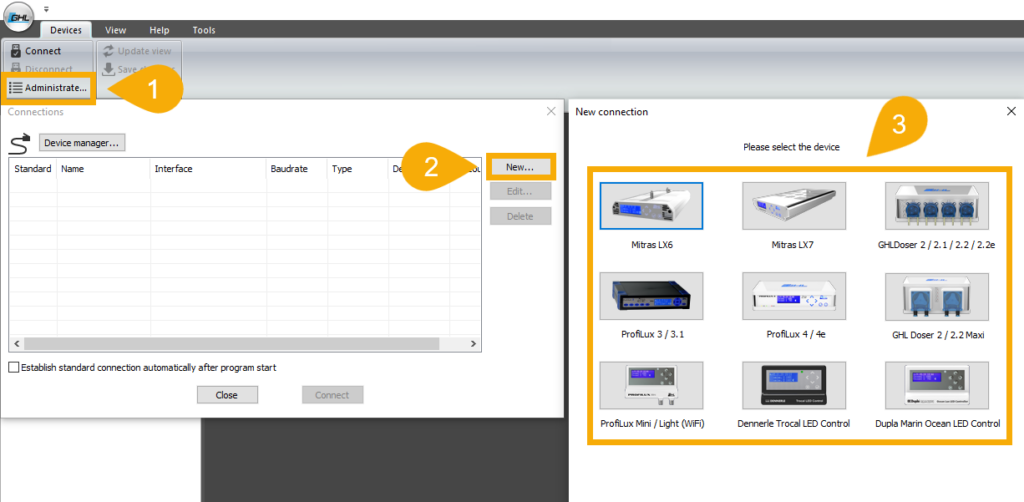
- Open GCC and click Administrate (top left)
- Click NEW
- Select your GHL device
4. Set the Type of connection to USB
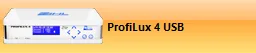
5. Give this connection a name; GHL Doser USB…ProfiLux 4 USB…Mitras LX7 USB…etc
6. Select the COM interface you wish to use; AUTO or Specific COM port number

Choose this option if you wish to have your PC scan your USB ports for a GHL device.
")
Choose this option if you wish to specify the exact COM port number of your GHL device.
")
To see what COM port number belongs to your GHL device, open Device Manager. For your convenience, GCC provides a shortcut button for quickly getting this information.
7. Click Save, then click Close
8. Select your newly made connection by either clicking Connect or by double-clicking the respective icon.

Troubleshooting: Unable to connect
USB connectivity issue with certain computers using an AMD chipset
There have been reports of some users having issues connecting via USB even after following the above steps. Upon investigating the cause of this problem, we found that USB connectivity can be an issue for those who have a Windows computer running on certain AMD processor chips (B350 / B550 based mainboards). It seems there is an AMD-chipset bug causing connectivity issues over certain USB2.0 devices. Unfortunately, AMD has not yet identified the root cause of this problem.
If you think you may be affected, please check and see if your computer is running on an AMD chip.
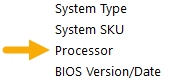
- On your Windows computer, use the search feature and type-in System information and select the app

- In the “System information” page, look for the PROCESSOR type…if your computer shows an AMD processor, this is likely the cause of your connectivity issue.
To resolve this problem, we recommend trying the following:
- Update processor chip to the newest firmware, then restart computer
- Use a USB hub and connect it to the USB port on your computer then connect the GHL device to this USB hub
If you continue to have this problem, we recommend contacting the manufacturer of your motherboard. The manufacturer of your mainboard can be found in the same “System information page” along with product and version information.